Quick Mockup Tutorial
Monday, December 5, 2022 - 08:45
For our U.S. customers: Most of our products are duty-free. If tariffs apply, we will cover the fees so you will not see additional charges at checkout.
We’ve been making a bunch of new Mockups for you, and we wanted to give you a simple guide to help you use them.
But first, you should know why you, the photographer, should use mockups.
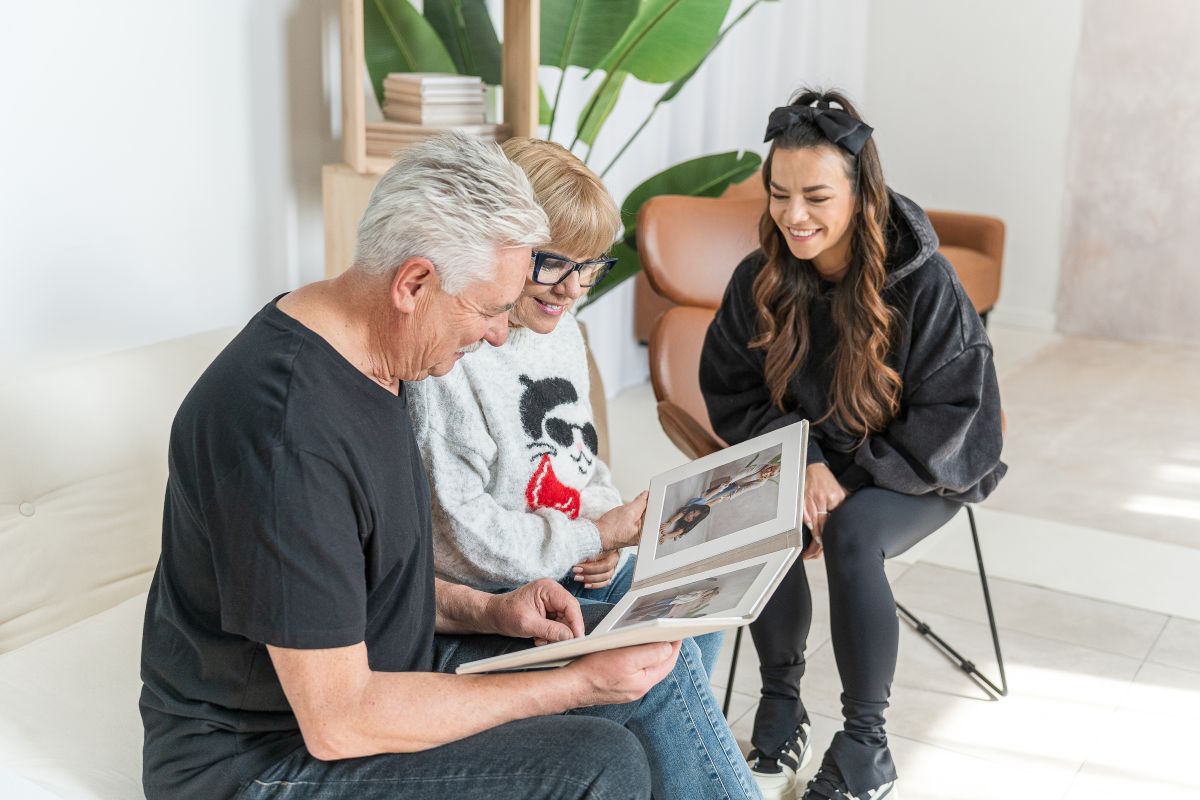
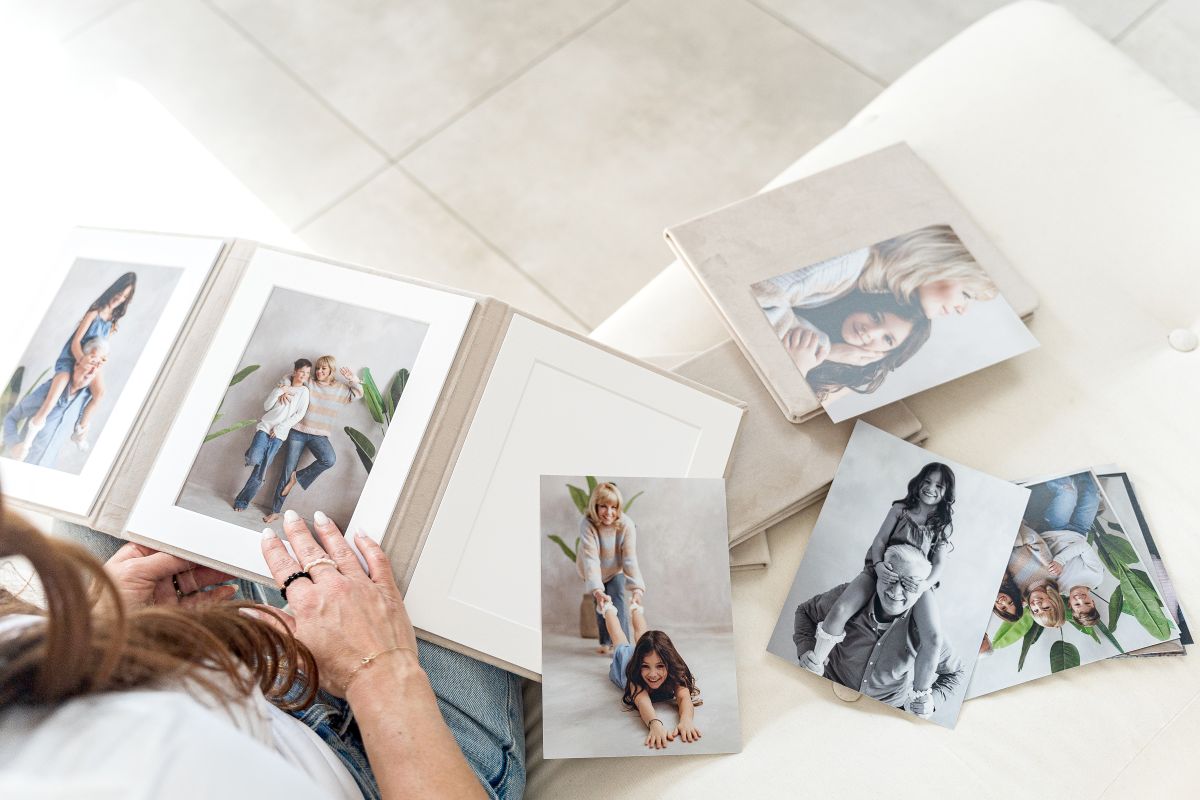
We know, that as photographers and business people, one of the most important parts of your customer’s journey is making sure the potential customer can envision themselves owning the product.
They need to imagine and see how much better their home and day will be with one of their pictures printed and out for them and others to see. It’s not about what the client needs but what they will want.
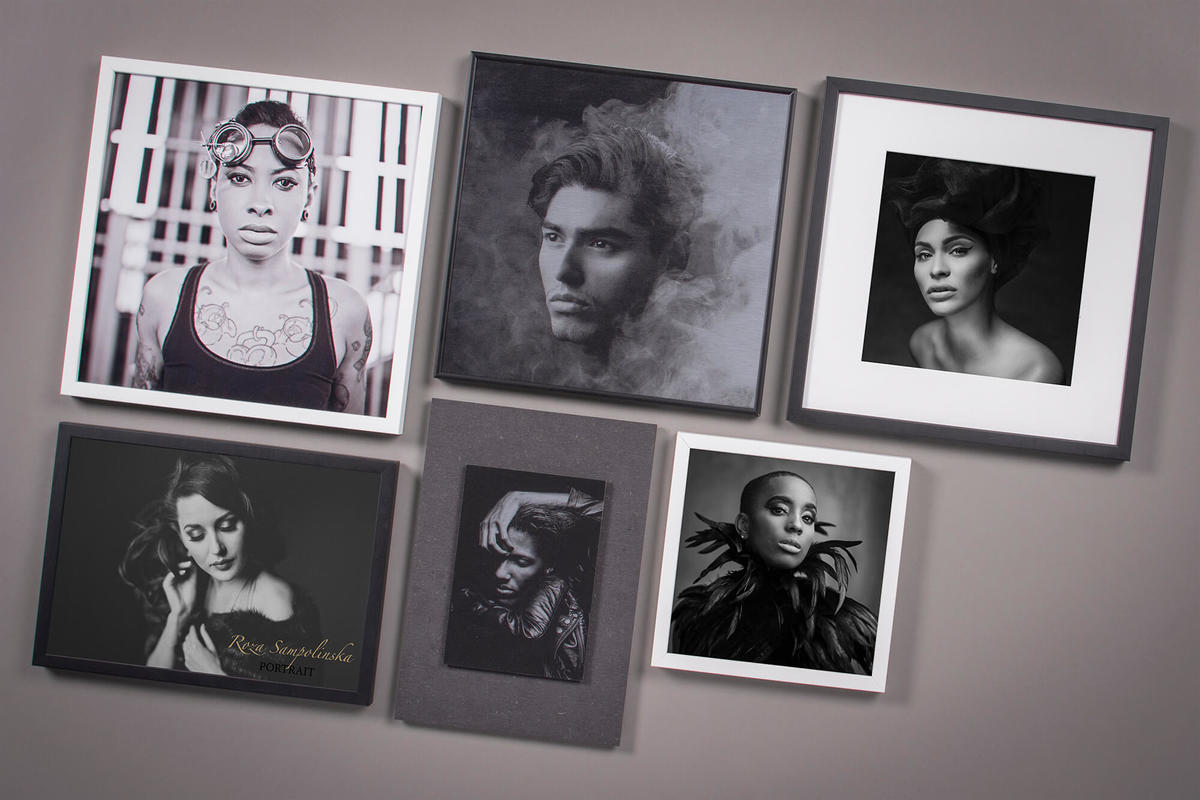
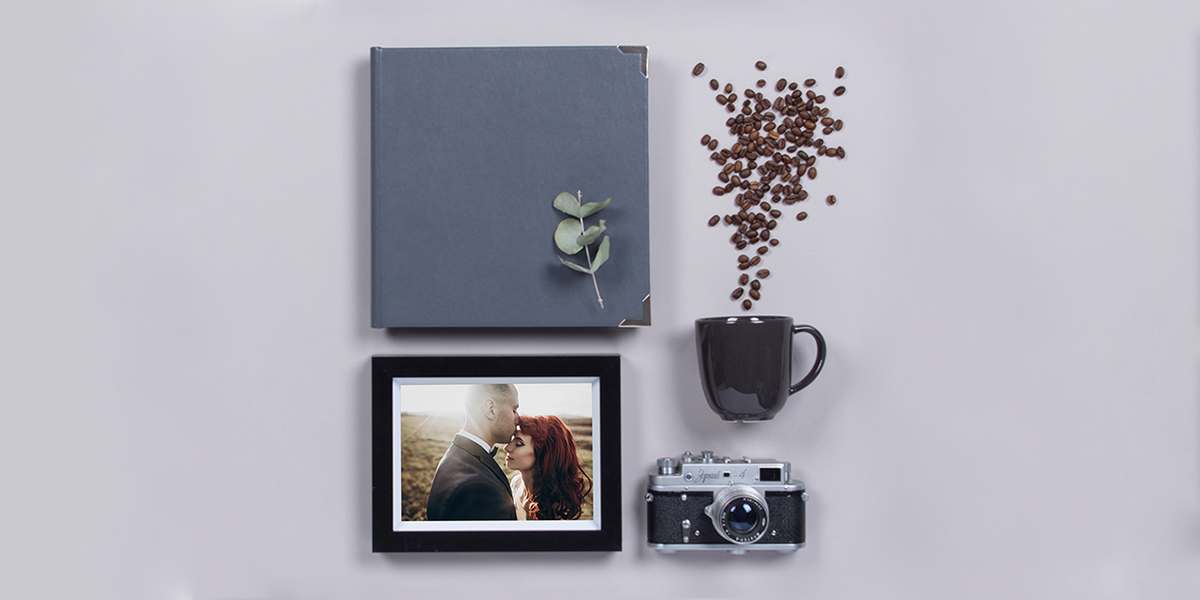
Our PSD files are the right tool for creating interest in customers because they provide customers with a simple way to visualize their photos in printed form.
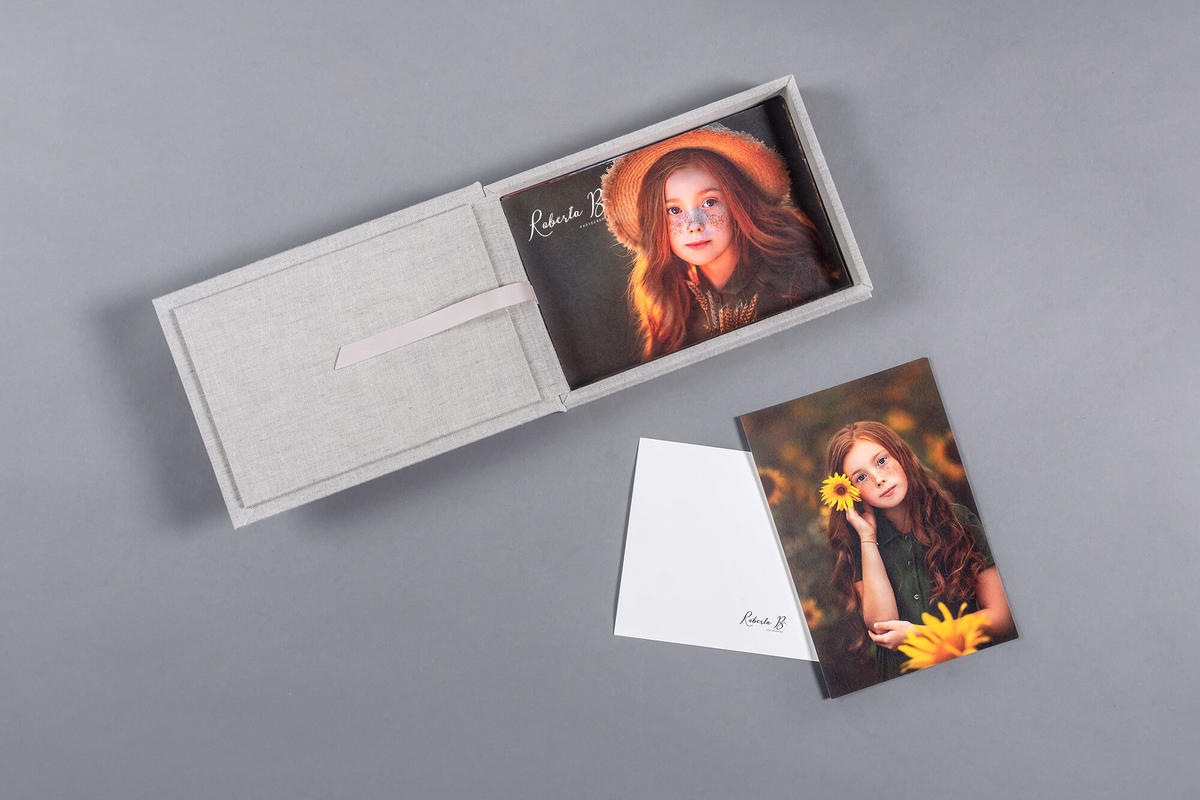
Our mockups come with themes, with all our photo products as options, and the best part is that they look super classy.
Mockups make a big difference for customers when they’re deciding whether to buy print products or not. This is why we continue to make them for you.
Now let’s make your first mockup!
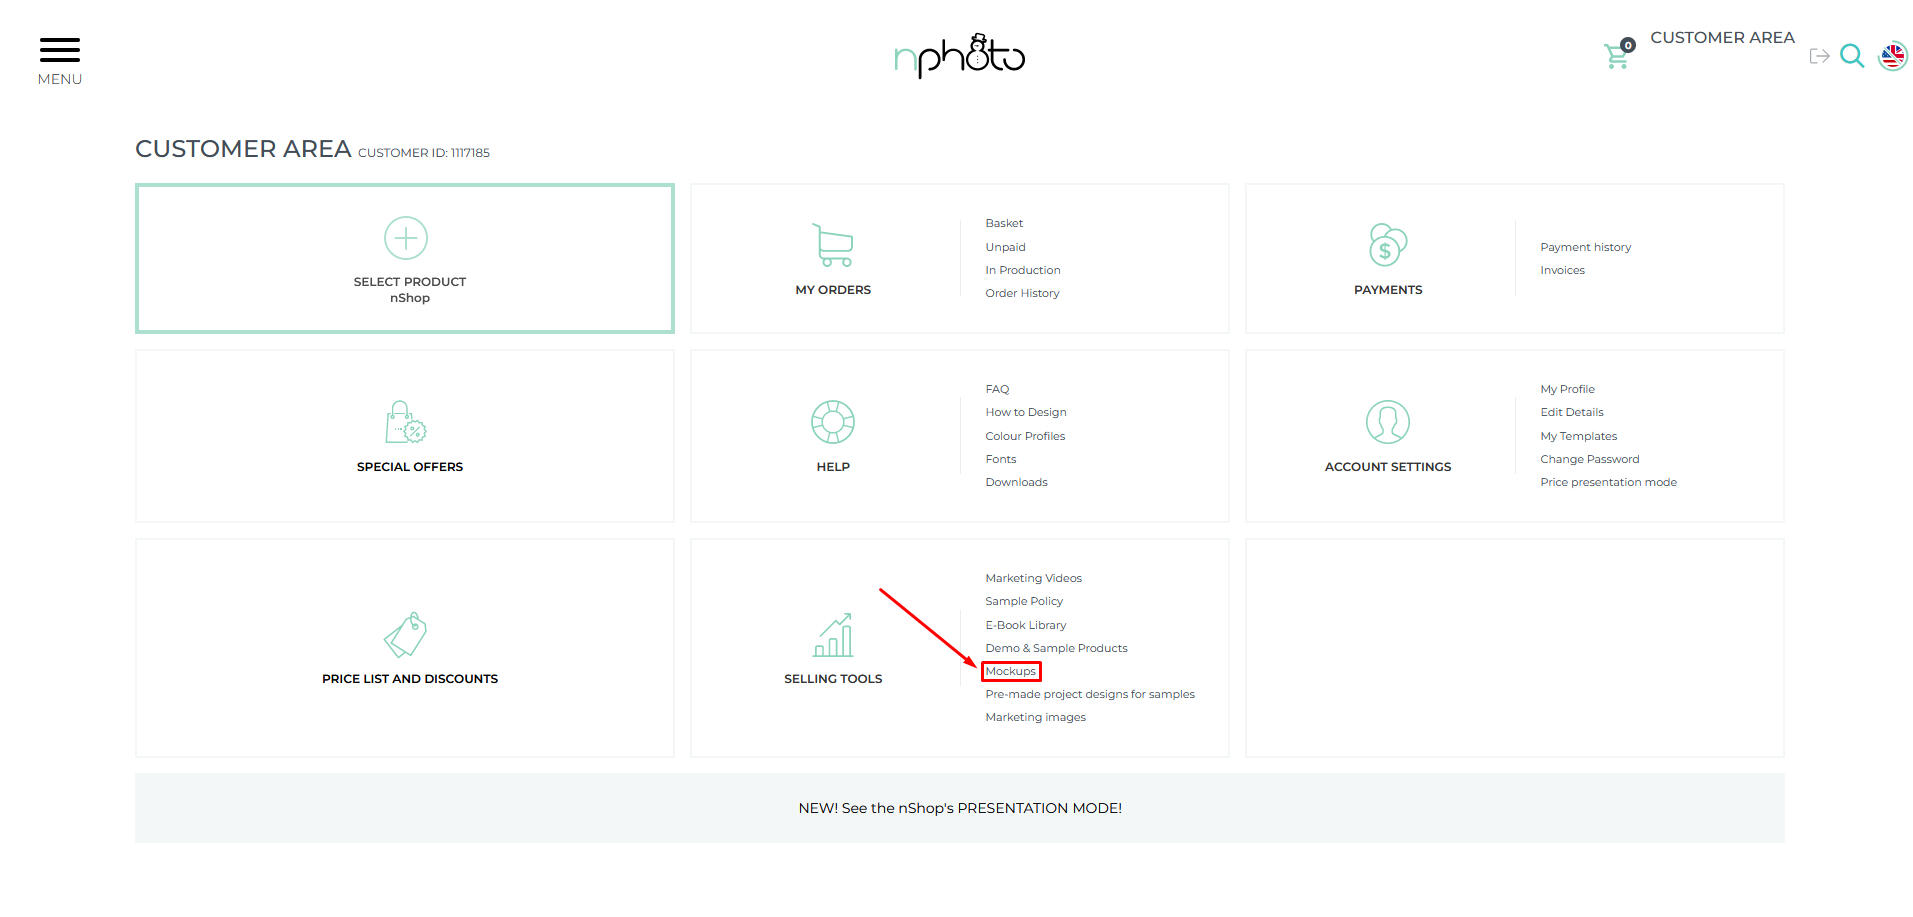
1. Access our nPhoto website homepage. Then log in (you need to have registered an account with nPhoto prior to logging in) and enter the Customer Area at the top-right side of the home page.

2. Click on the Mockups link within the Selling Tools section.
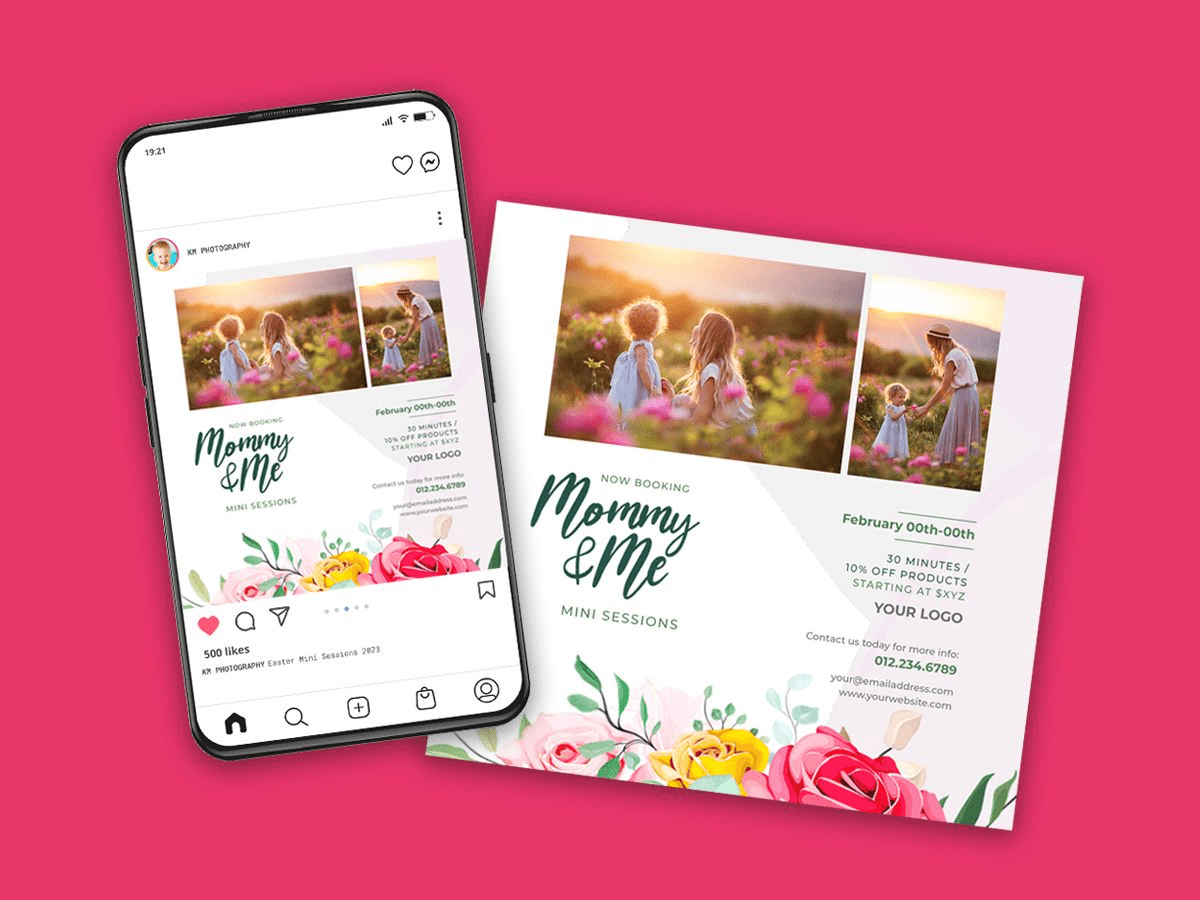
3. Click on Download for (Web) under any of the Mockups thumbnails.
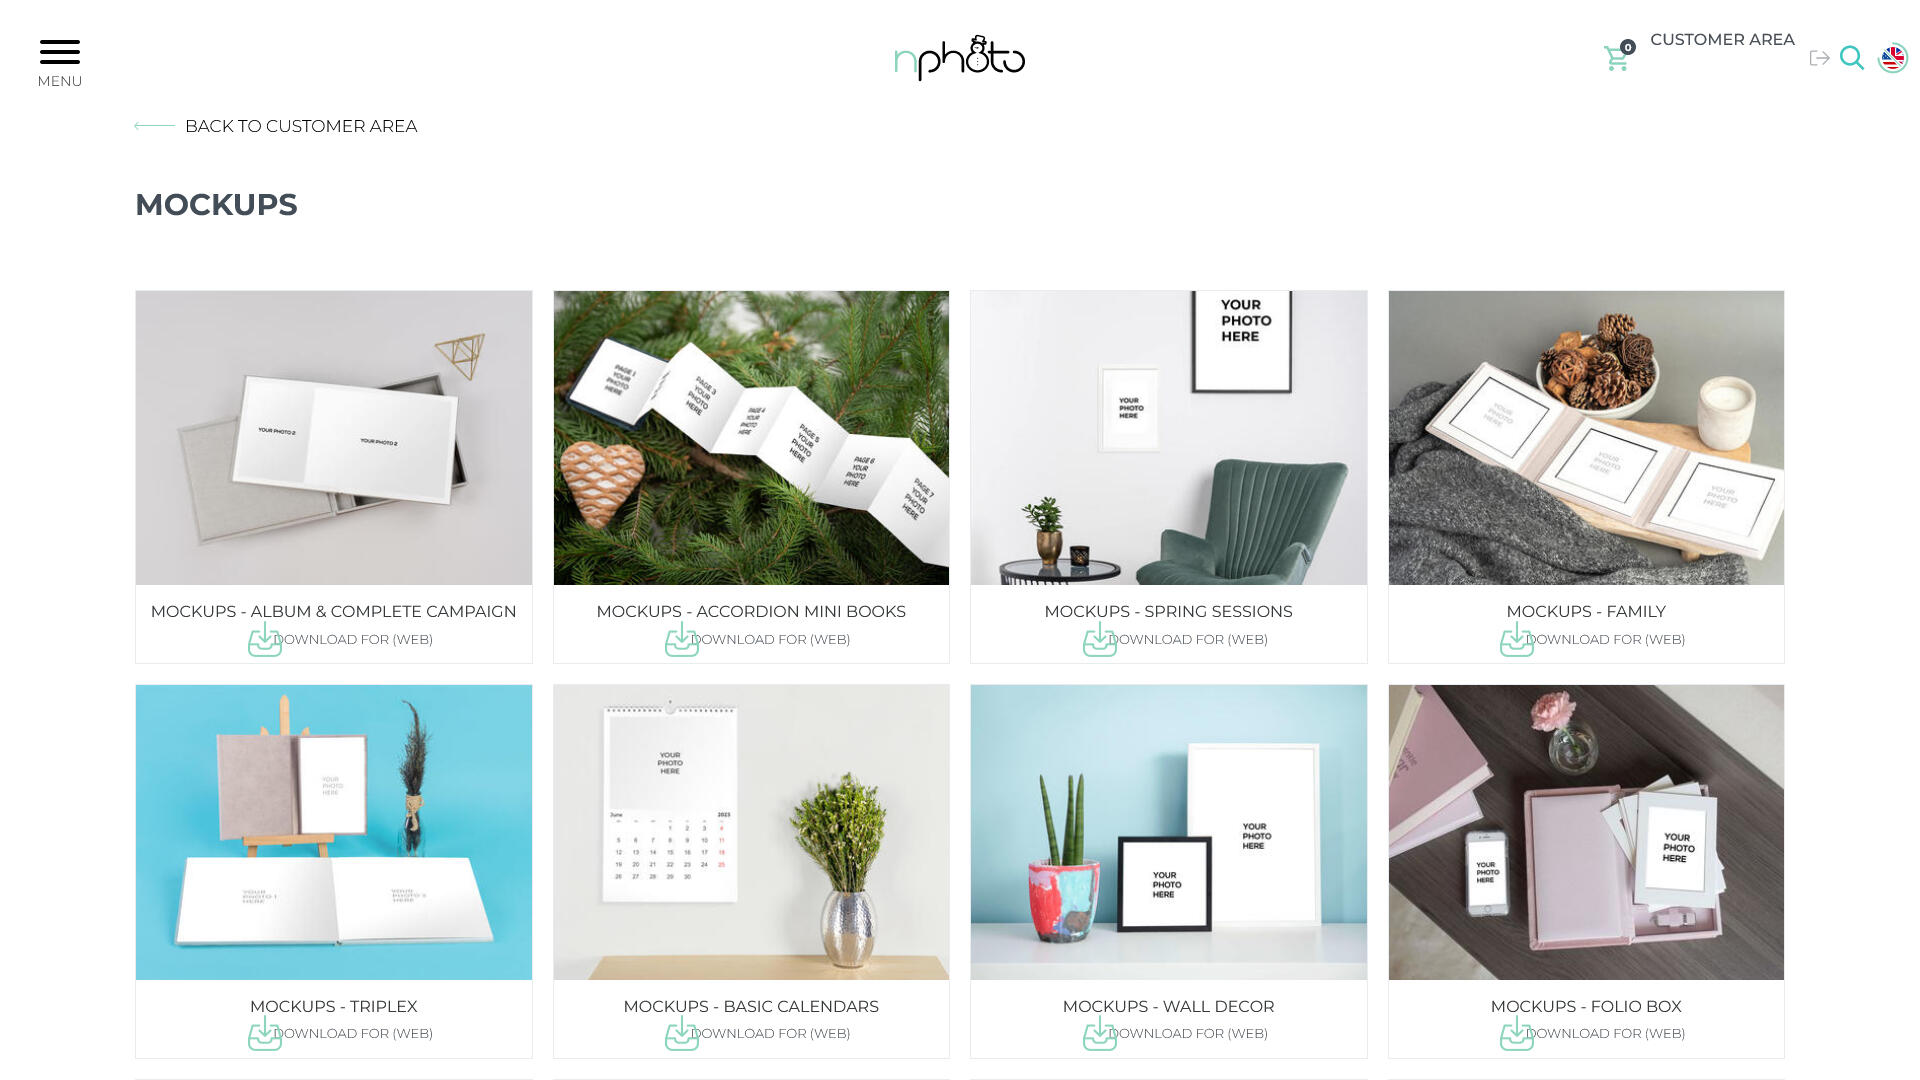
4. After downloading the Mockups file onto your drive, select and click on the PSD file of your choice.
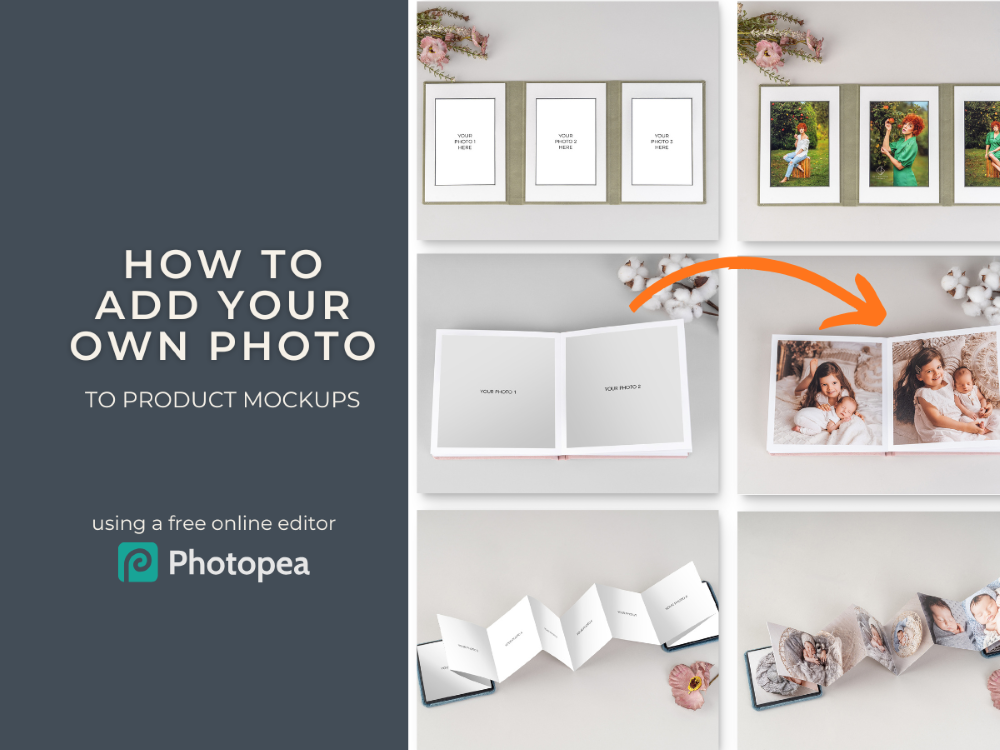
Now, to paint the picutre for you, we invite you to watch our step-by-step tutorial on:
How to add your own photos to product mockups using a free online editor - Photopea
Want to learn more about mockups and why they’re such a good idea for photographers?
Click the link below to read our mockups blog post and learn more about why you should use them for your business.
UK/IE/EU +44 (0) 20 3409 4355
US/CA/AU +1 (631) 772 - 0030
customerservice@nphoto.com
nPhoto is a proud manufacturer of the finest quality photo albums and photo products for professional photographers and professional photography studios. With over a decade of experience, we offer artistic, unique, heirloom products to our professional photographer clients using state-of-the-art technology.