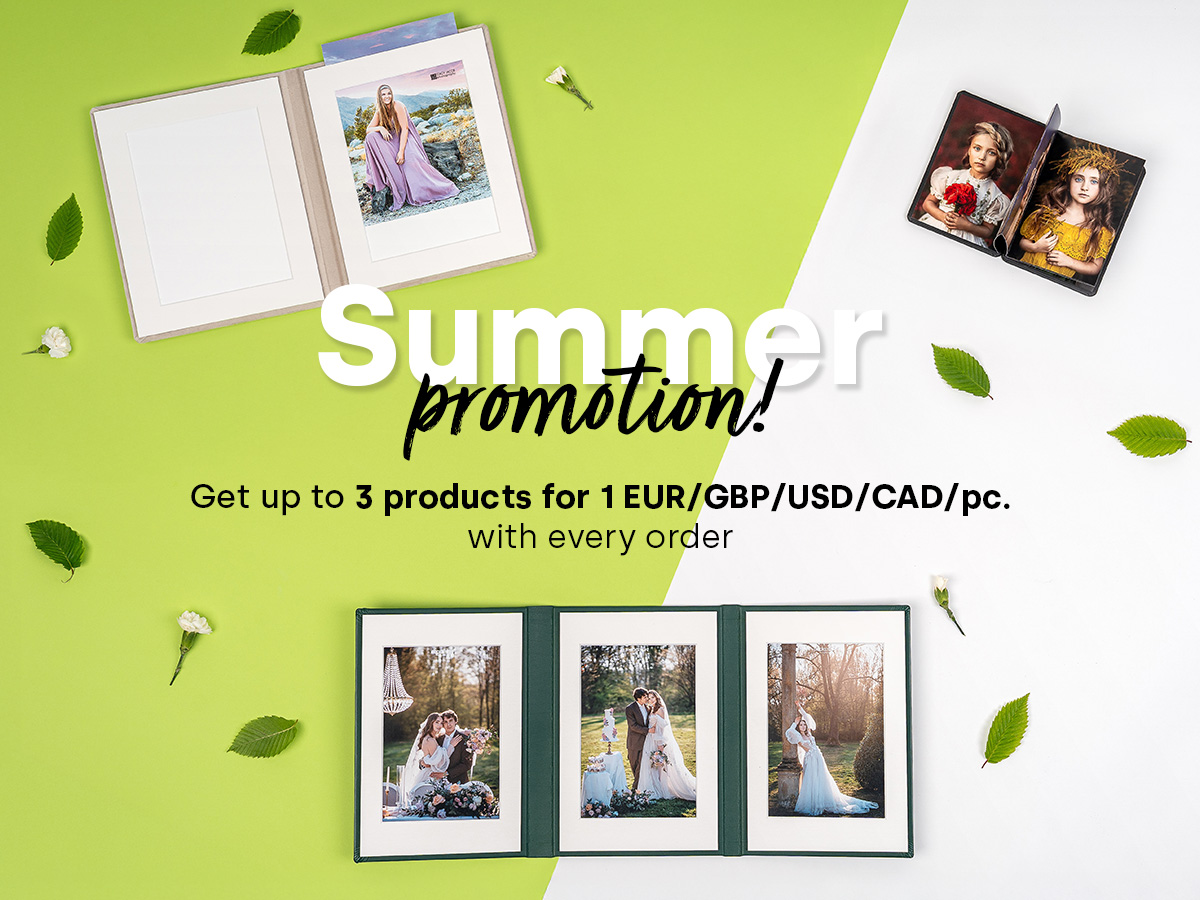
How to Apply a Self-made pattern to nPhoto Products
Thursday, February 6, 2025 - 15:00
For our U.S. customers: Most of our products are duty-free. If tariffs apply, we will cover the fees so you will not see additional charges at checkout.
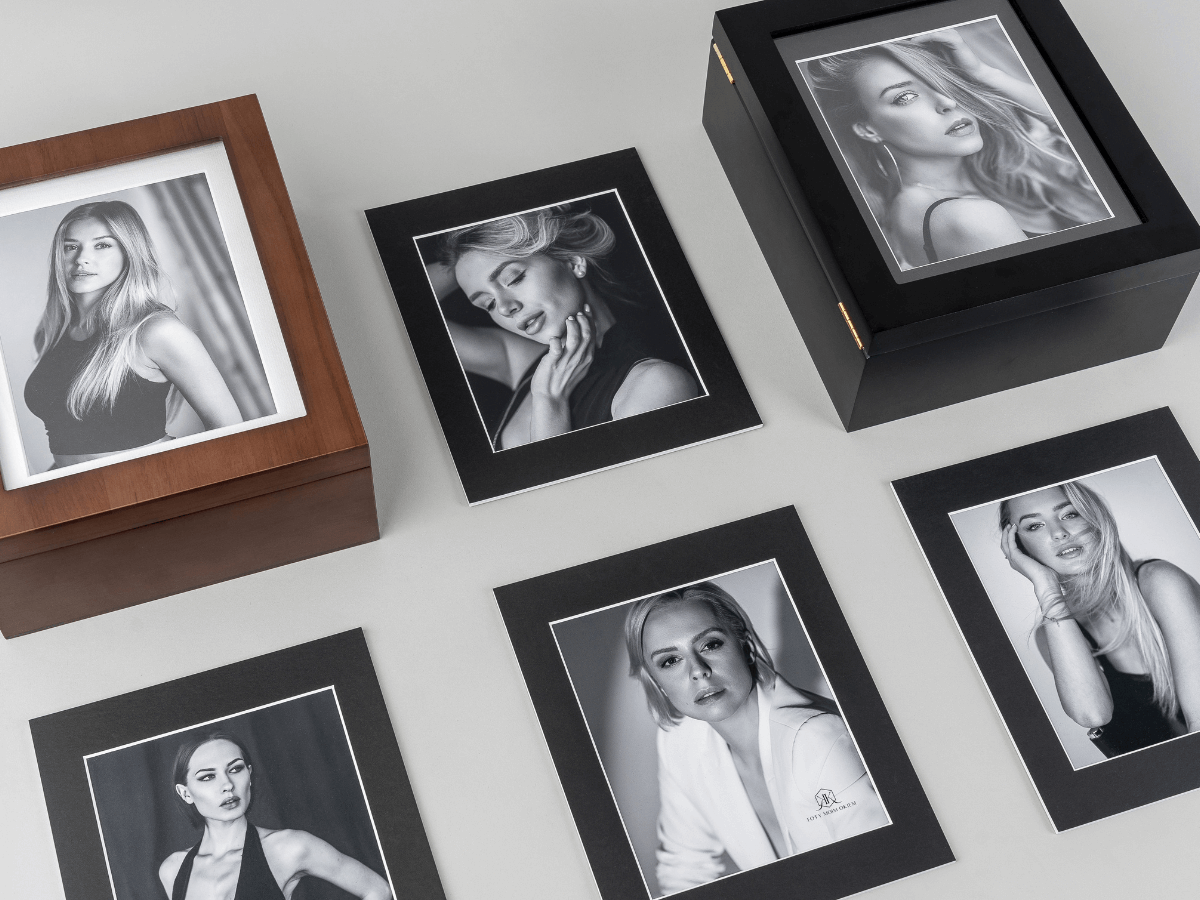
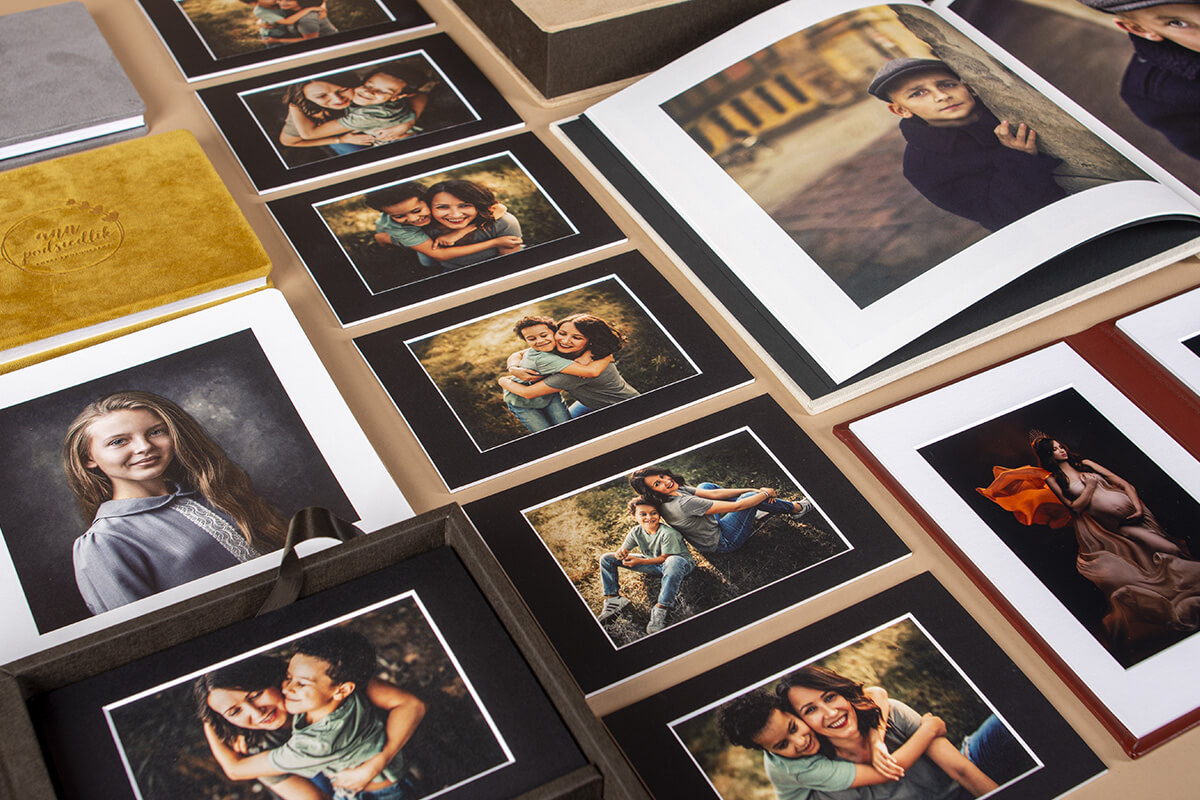
Did you know you can personalise nearly every product from nPhoto with your own custom logo, text, or pattern in almost any font or design you choose? No, you’re not imagining it. Here’s how it works!
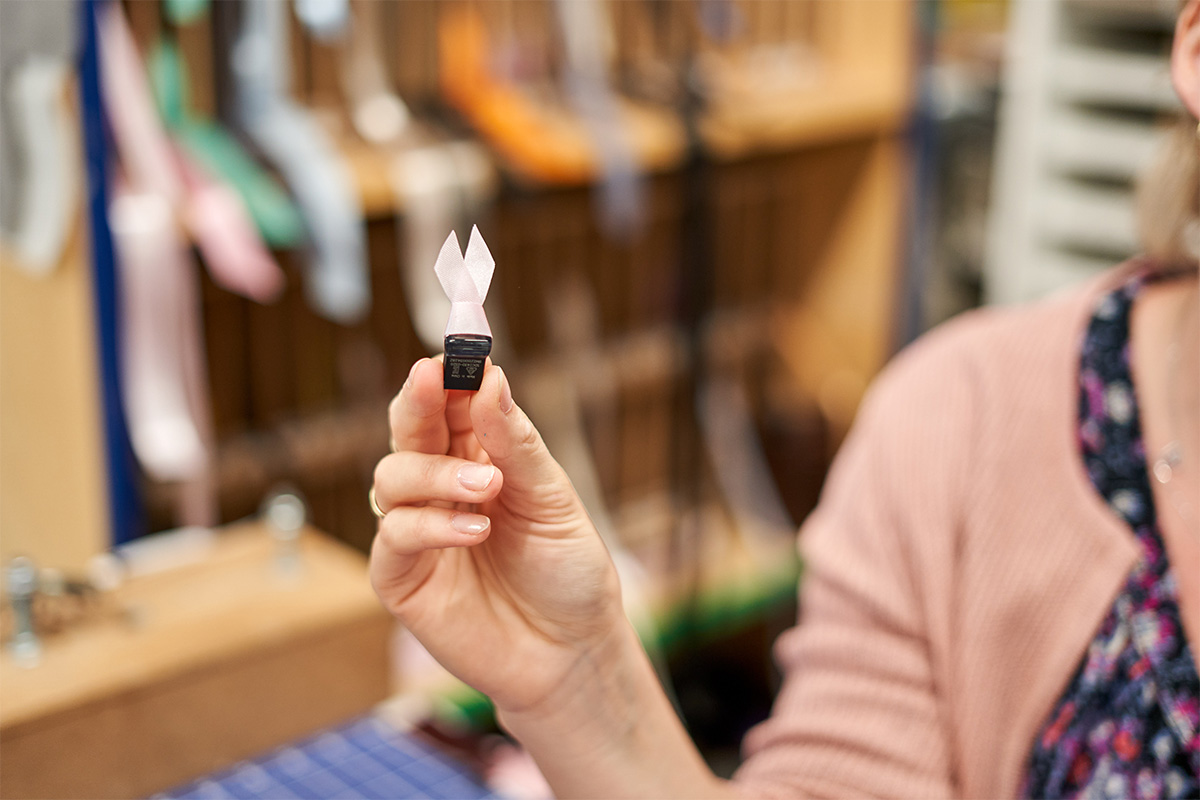
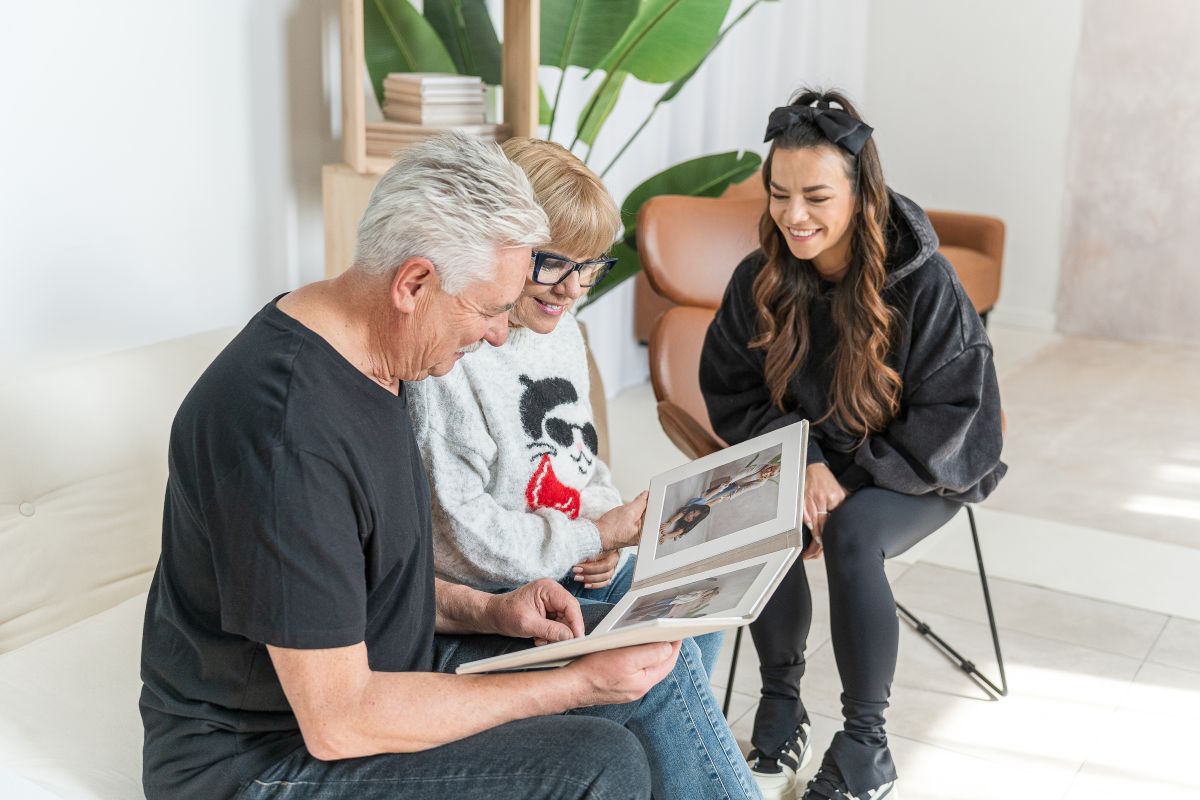
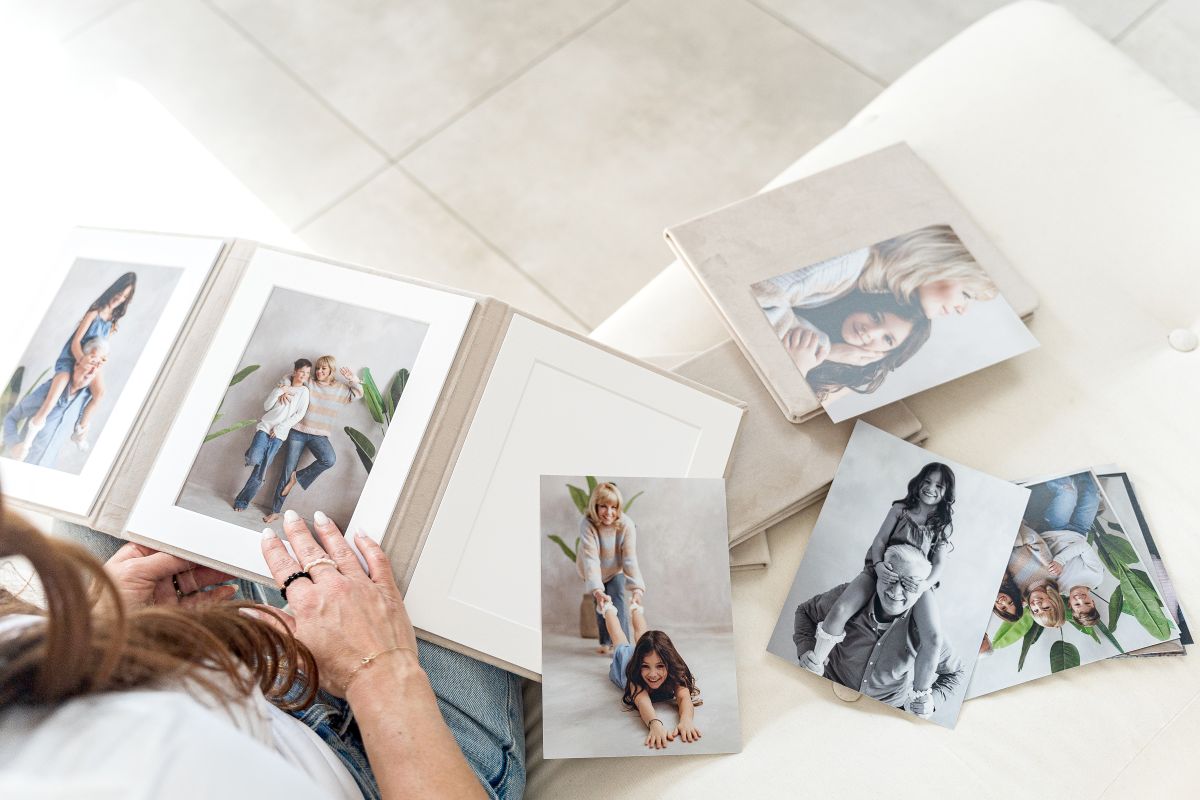
We believe it is important to stay out of the photographer-client relationship as much as possible. That’s why we always remain invisible to your clients. We guarantee you’ll never see the nPhoto logo on any of our products. Instead, we are happy to help you decorate your beautiful photography with your own logo, pattern, or any other text you want applied to the cover or back cover of your photo product.
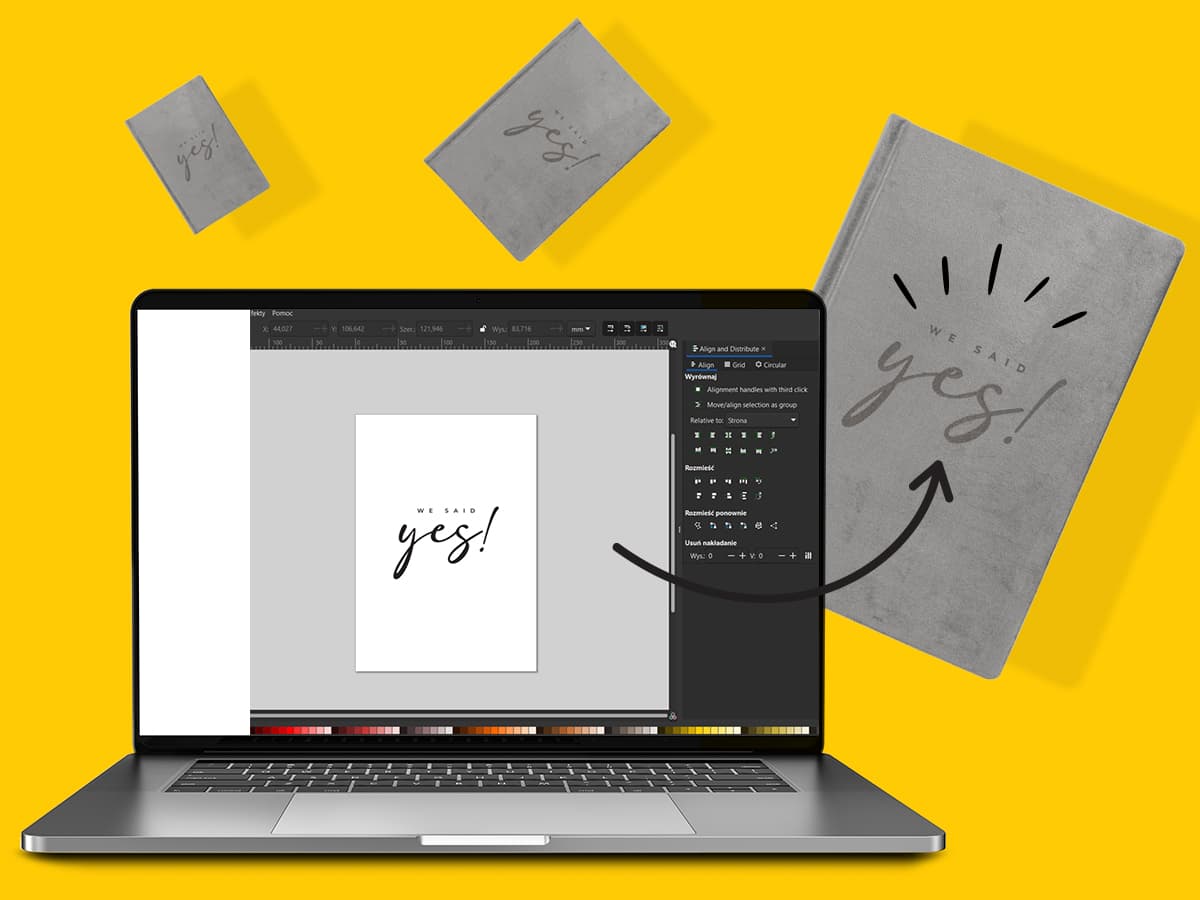
Want to learn how? Check out the new video tutorial we’ve created just for you! In it we explain how to personalise your photo product’s cover using our self‑made pattern option.
UK/IE/EU +44 (0) 20 3409 4355
US/CA/AU +1 (631) 772 - 0030
customerservice@nphoto.com
nPhoto is a proud manufacturer of the finest quality photo albums and photo products for professional photographers and professional photography studios. With over a decade of experience, we offer artistic, unique, heirloom products to our professional photographer clients using state-of-the-art technology.