nDesigner PRO - New Features
Thursday, February 13, 2020 - 10:58

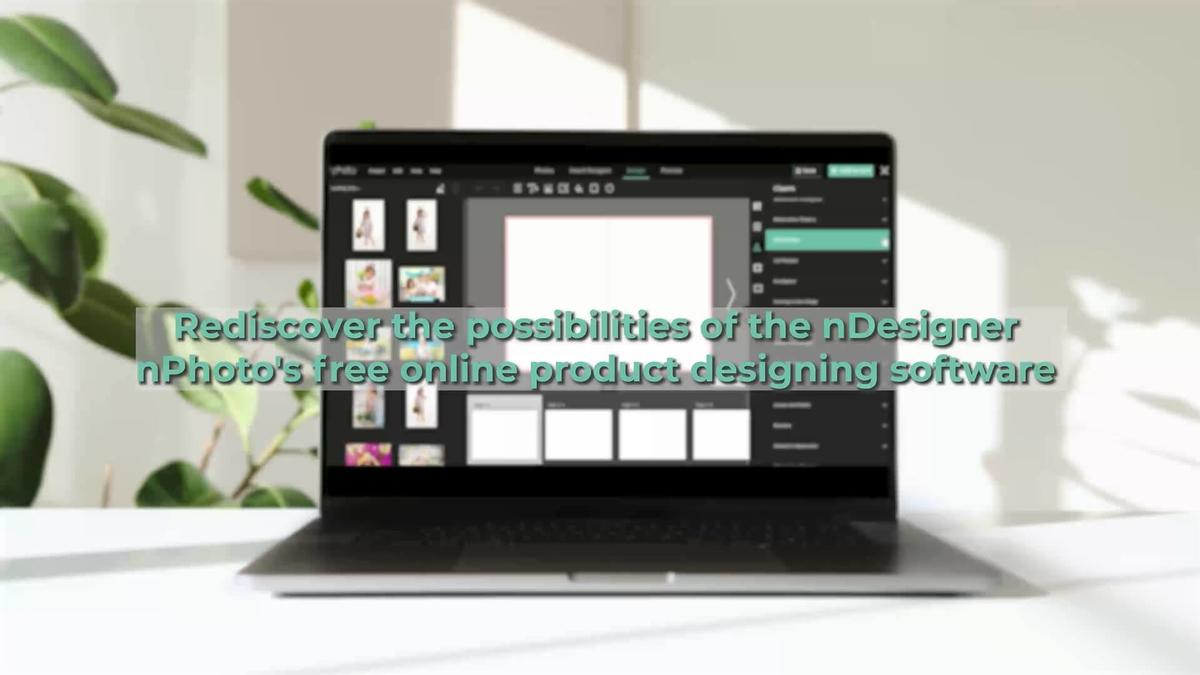
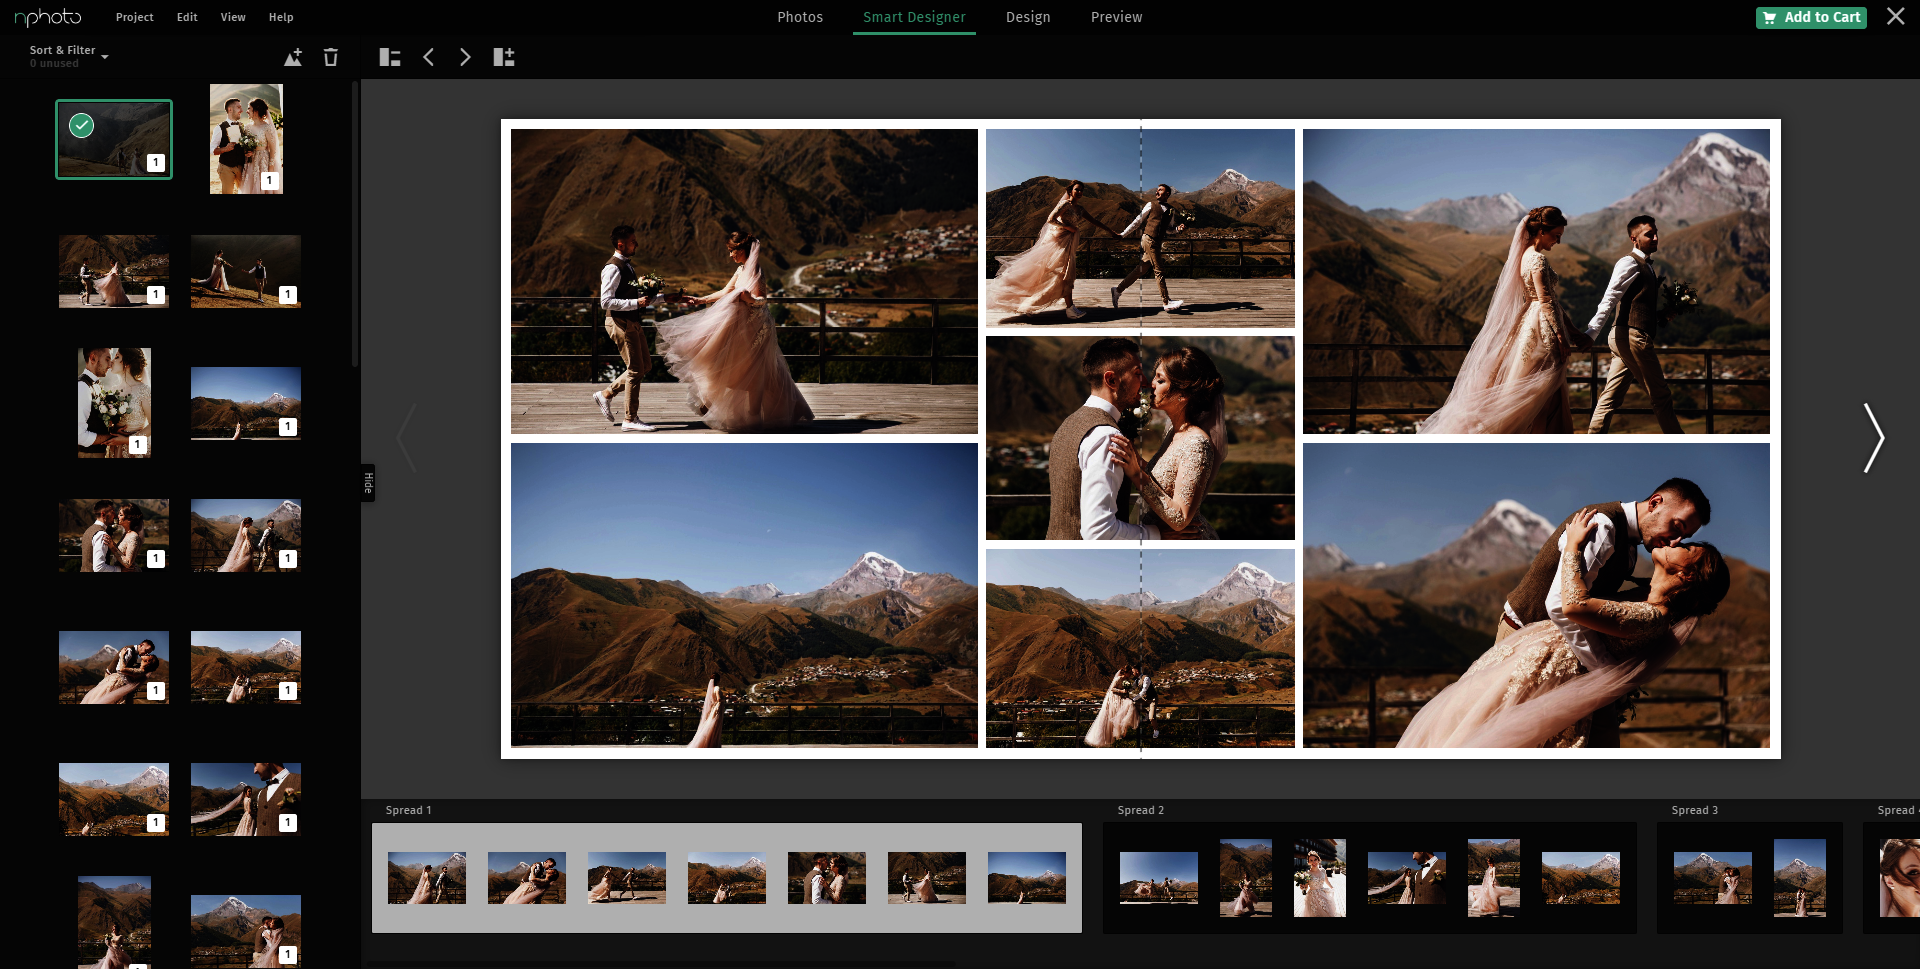
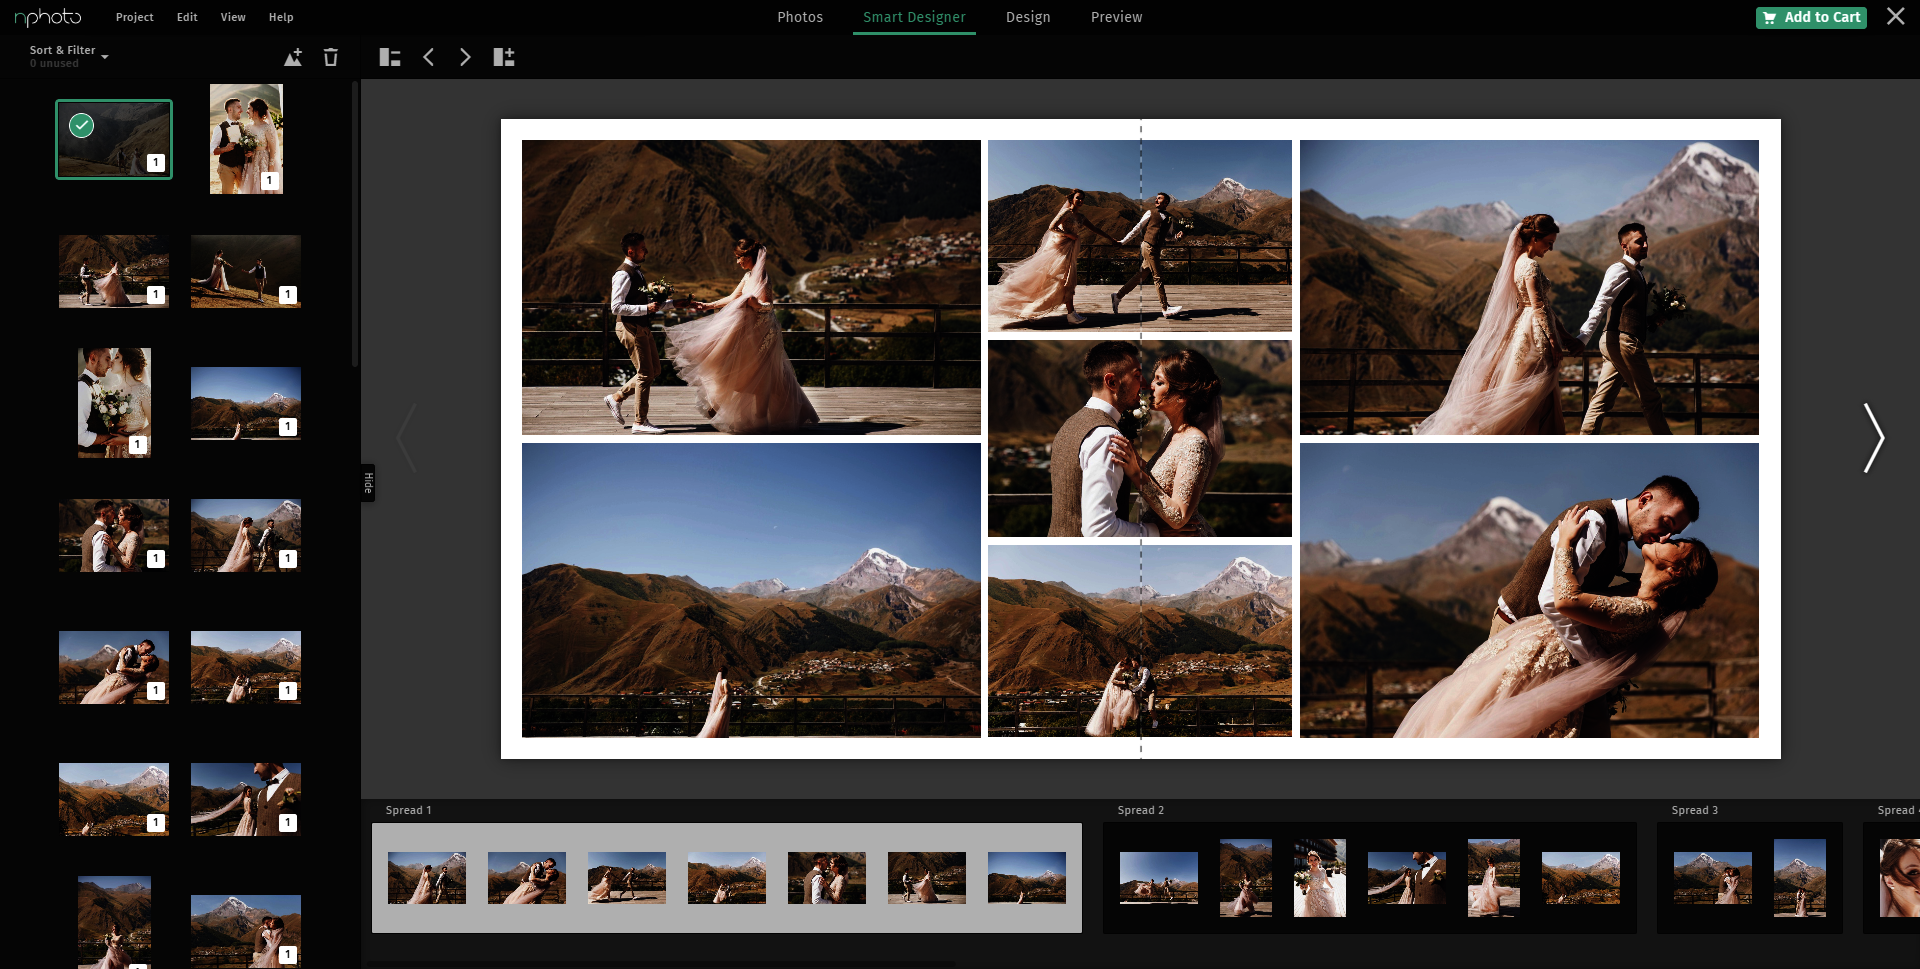
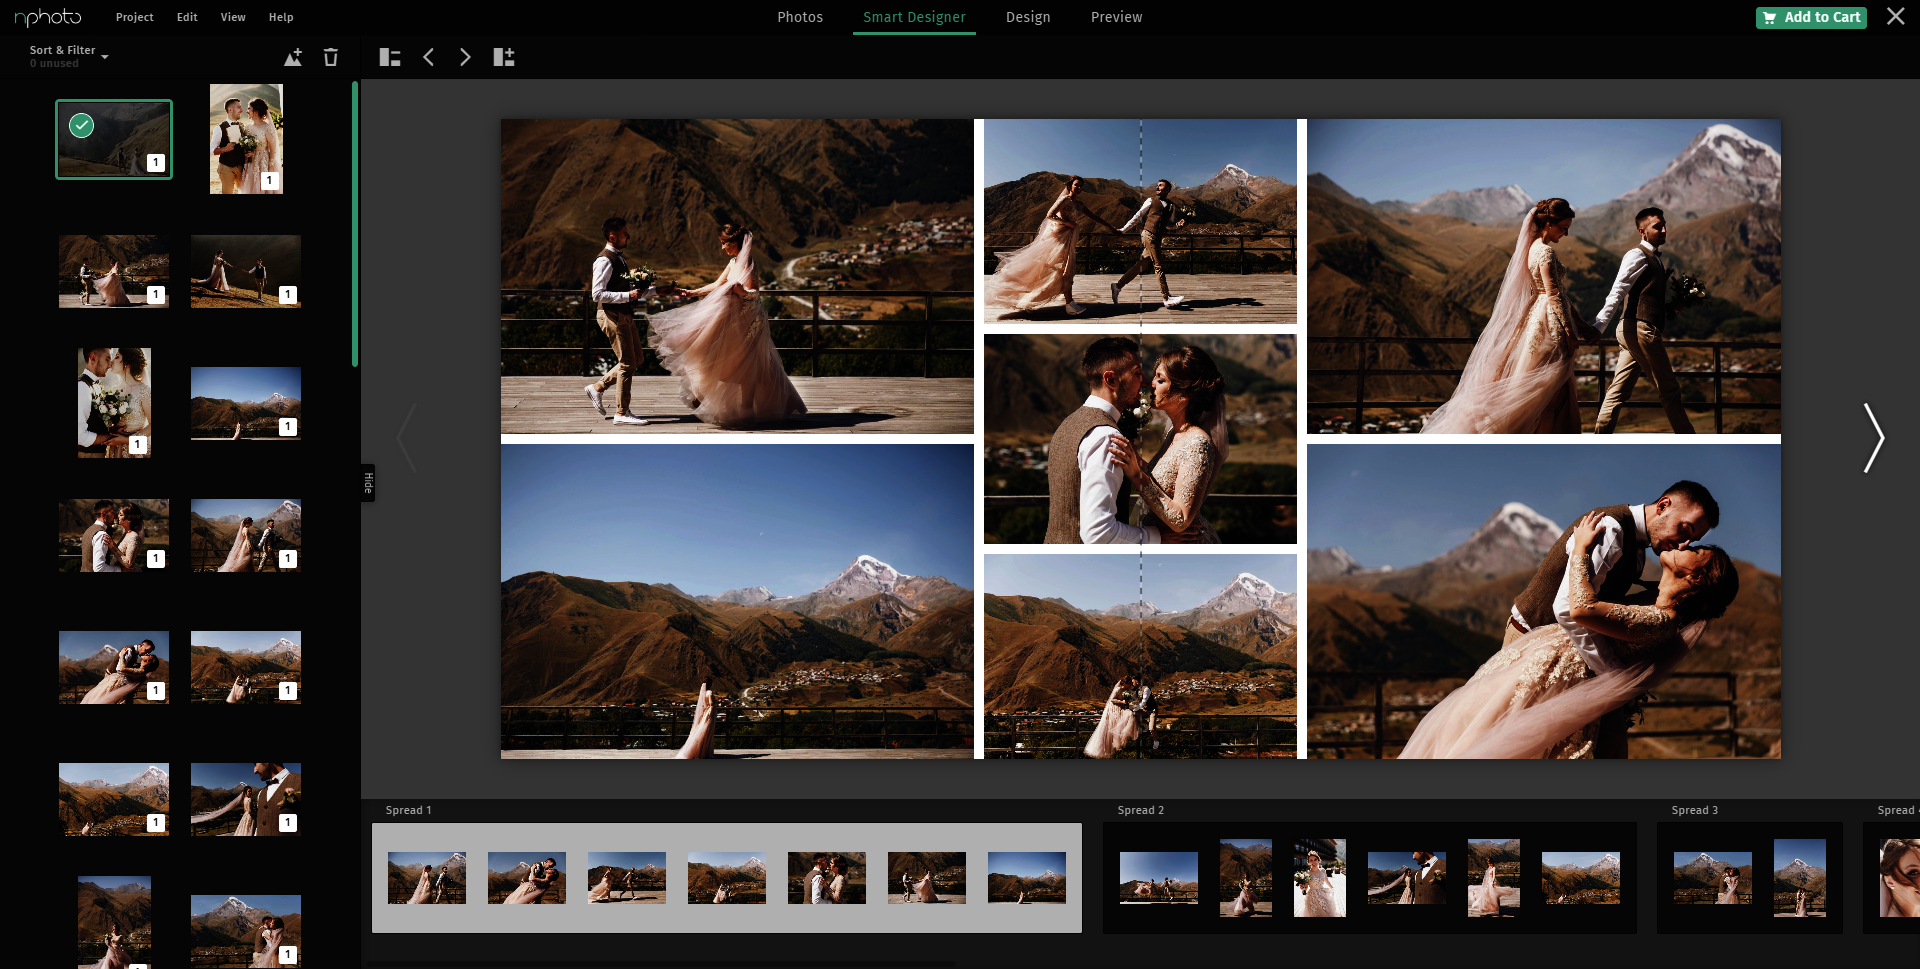
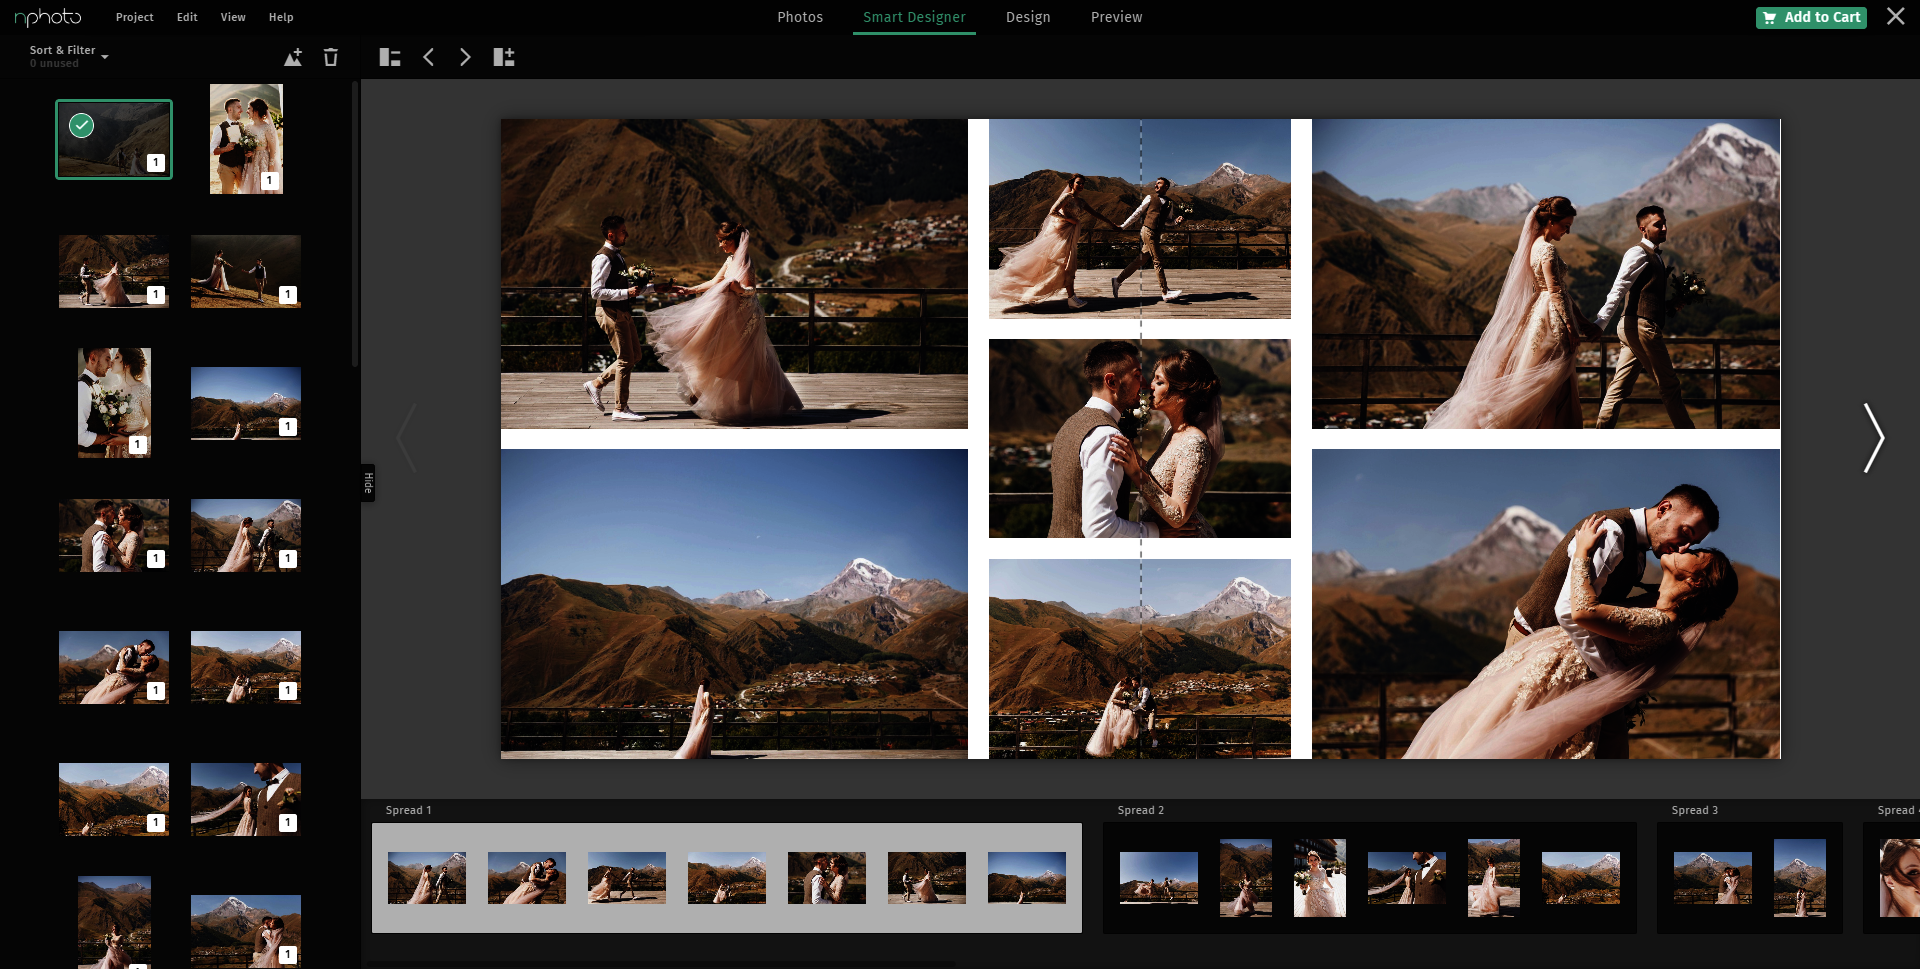
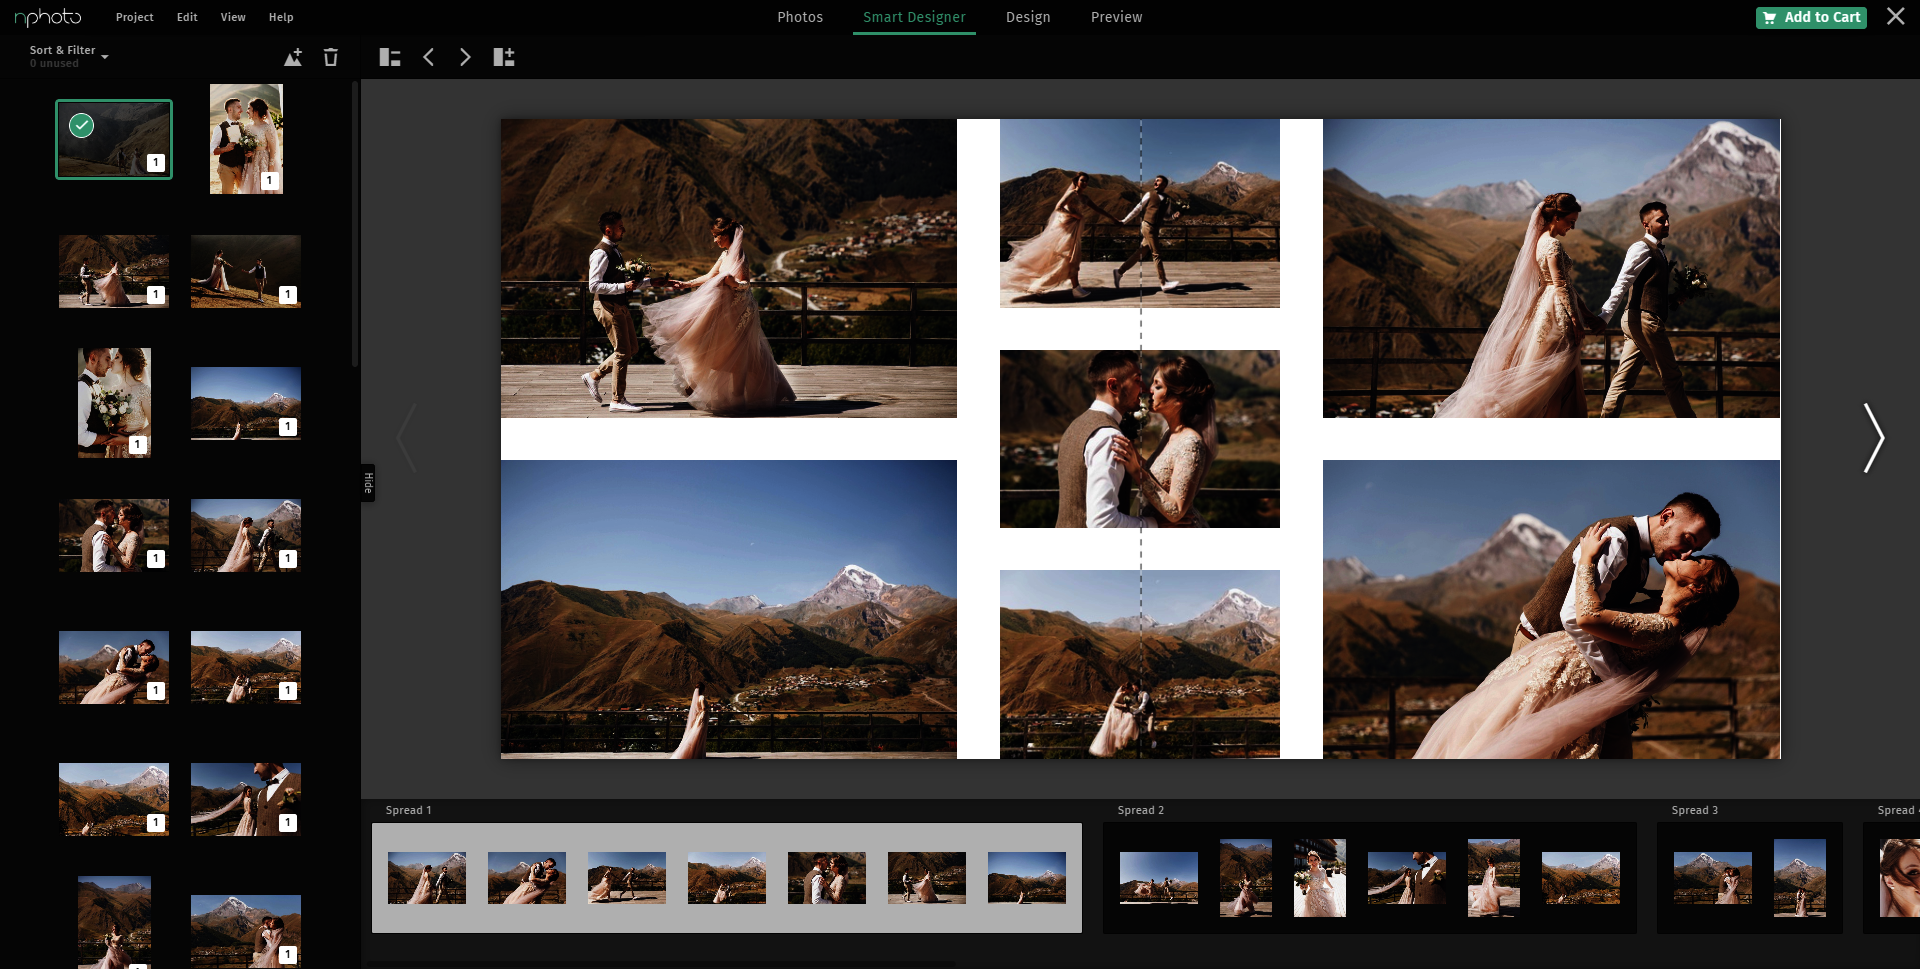
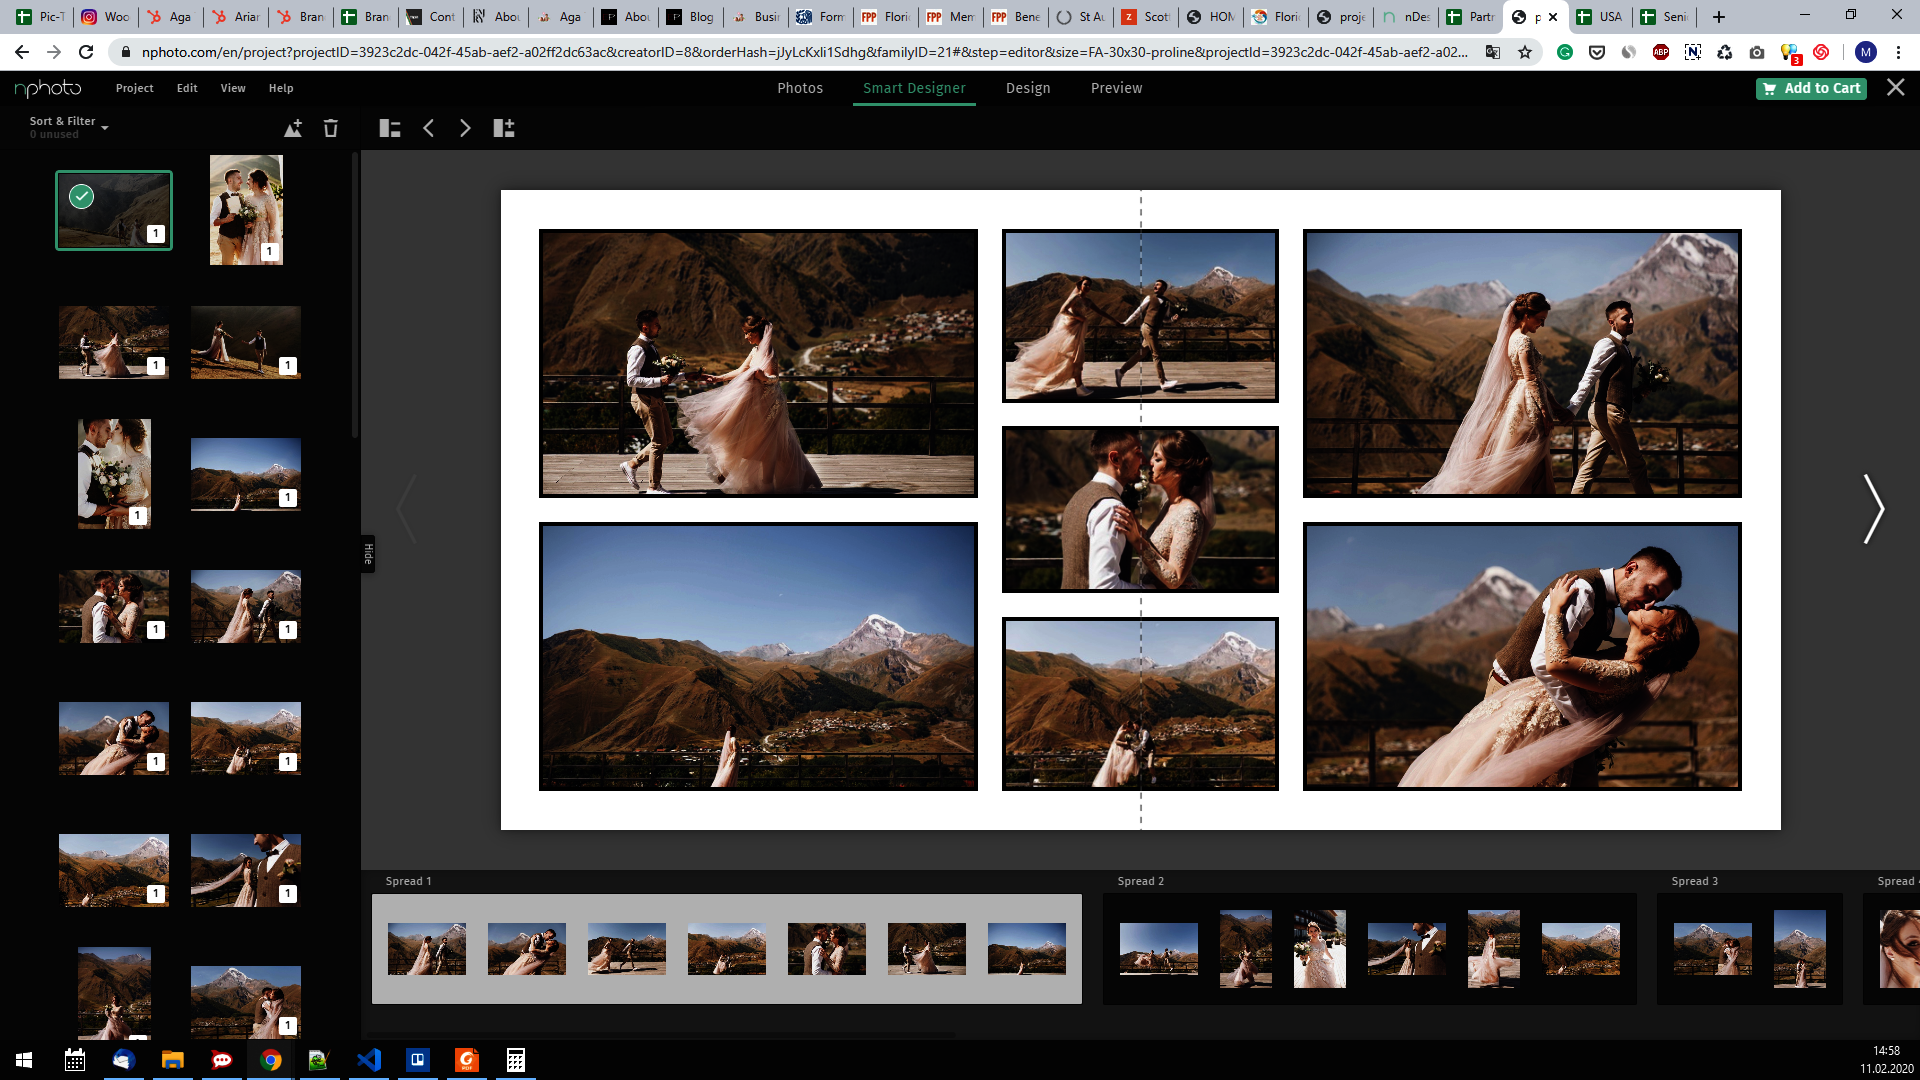
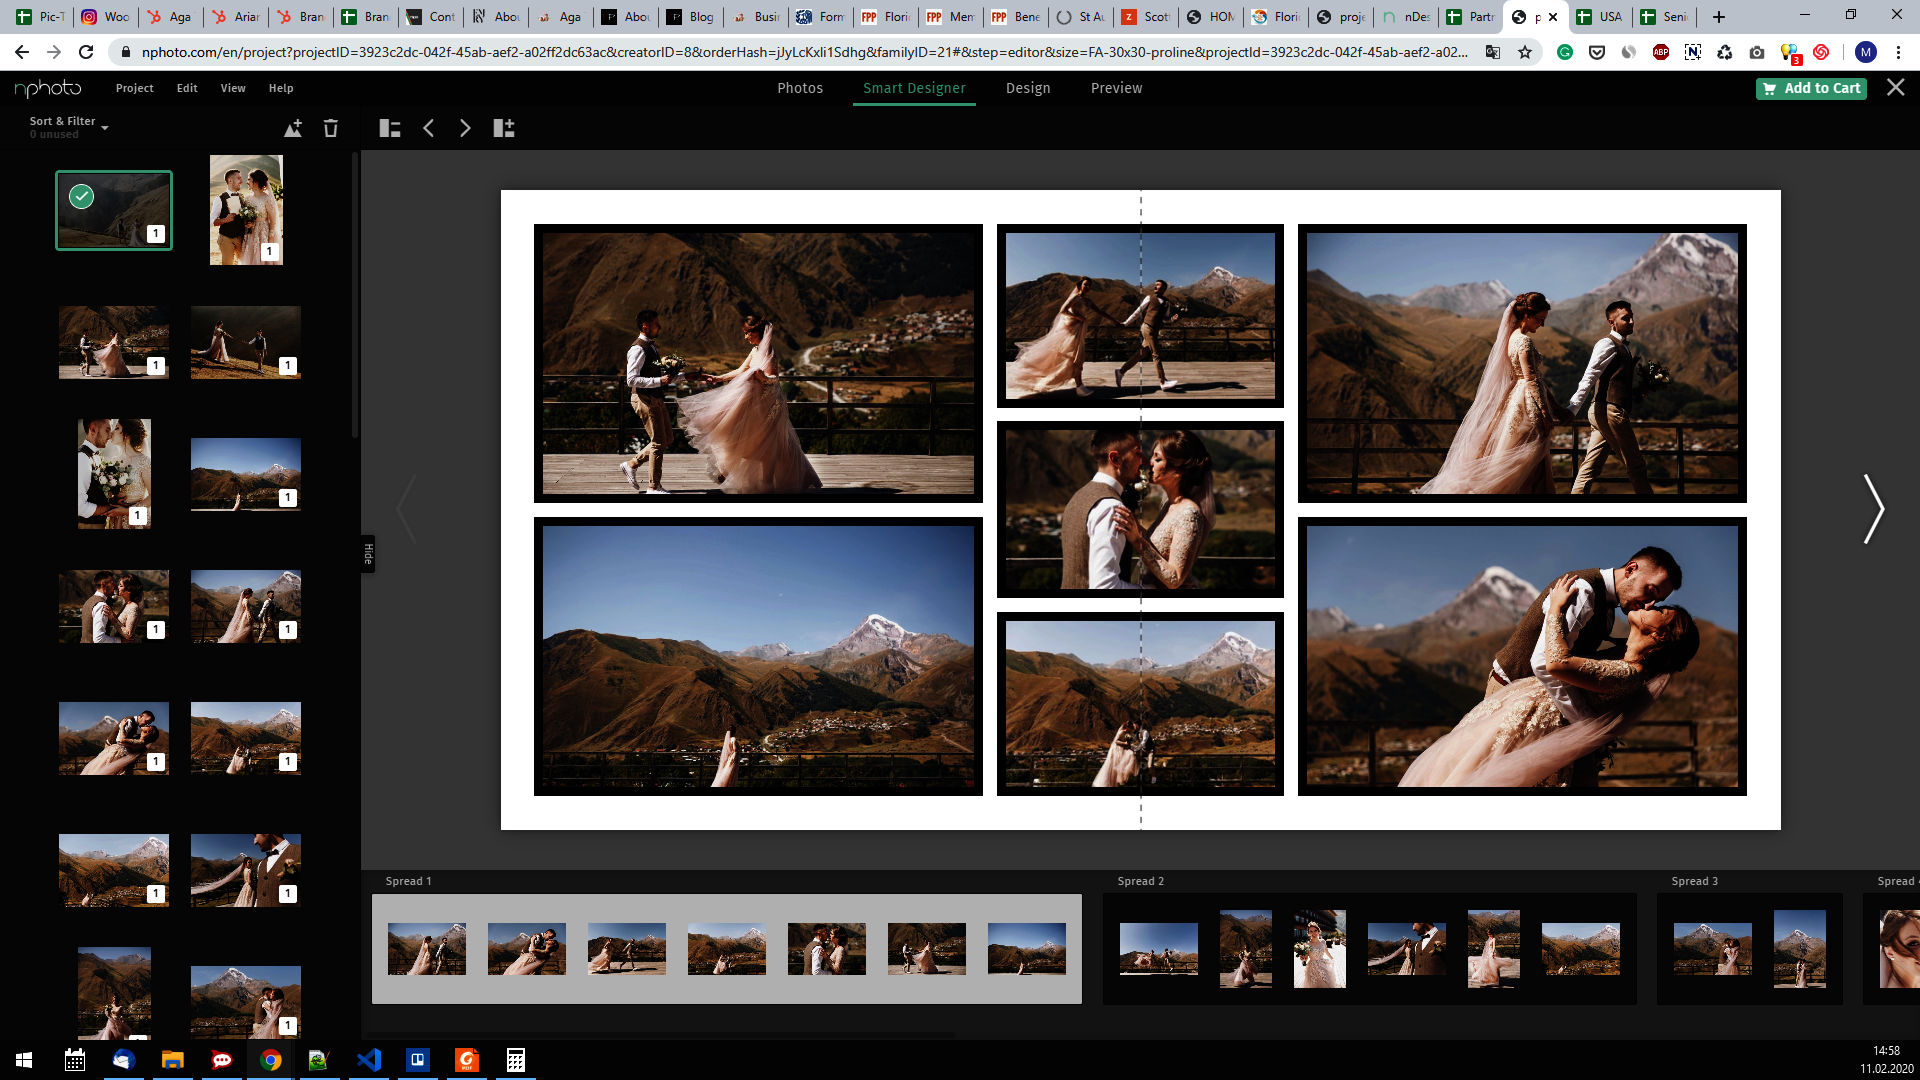
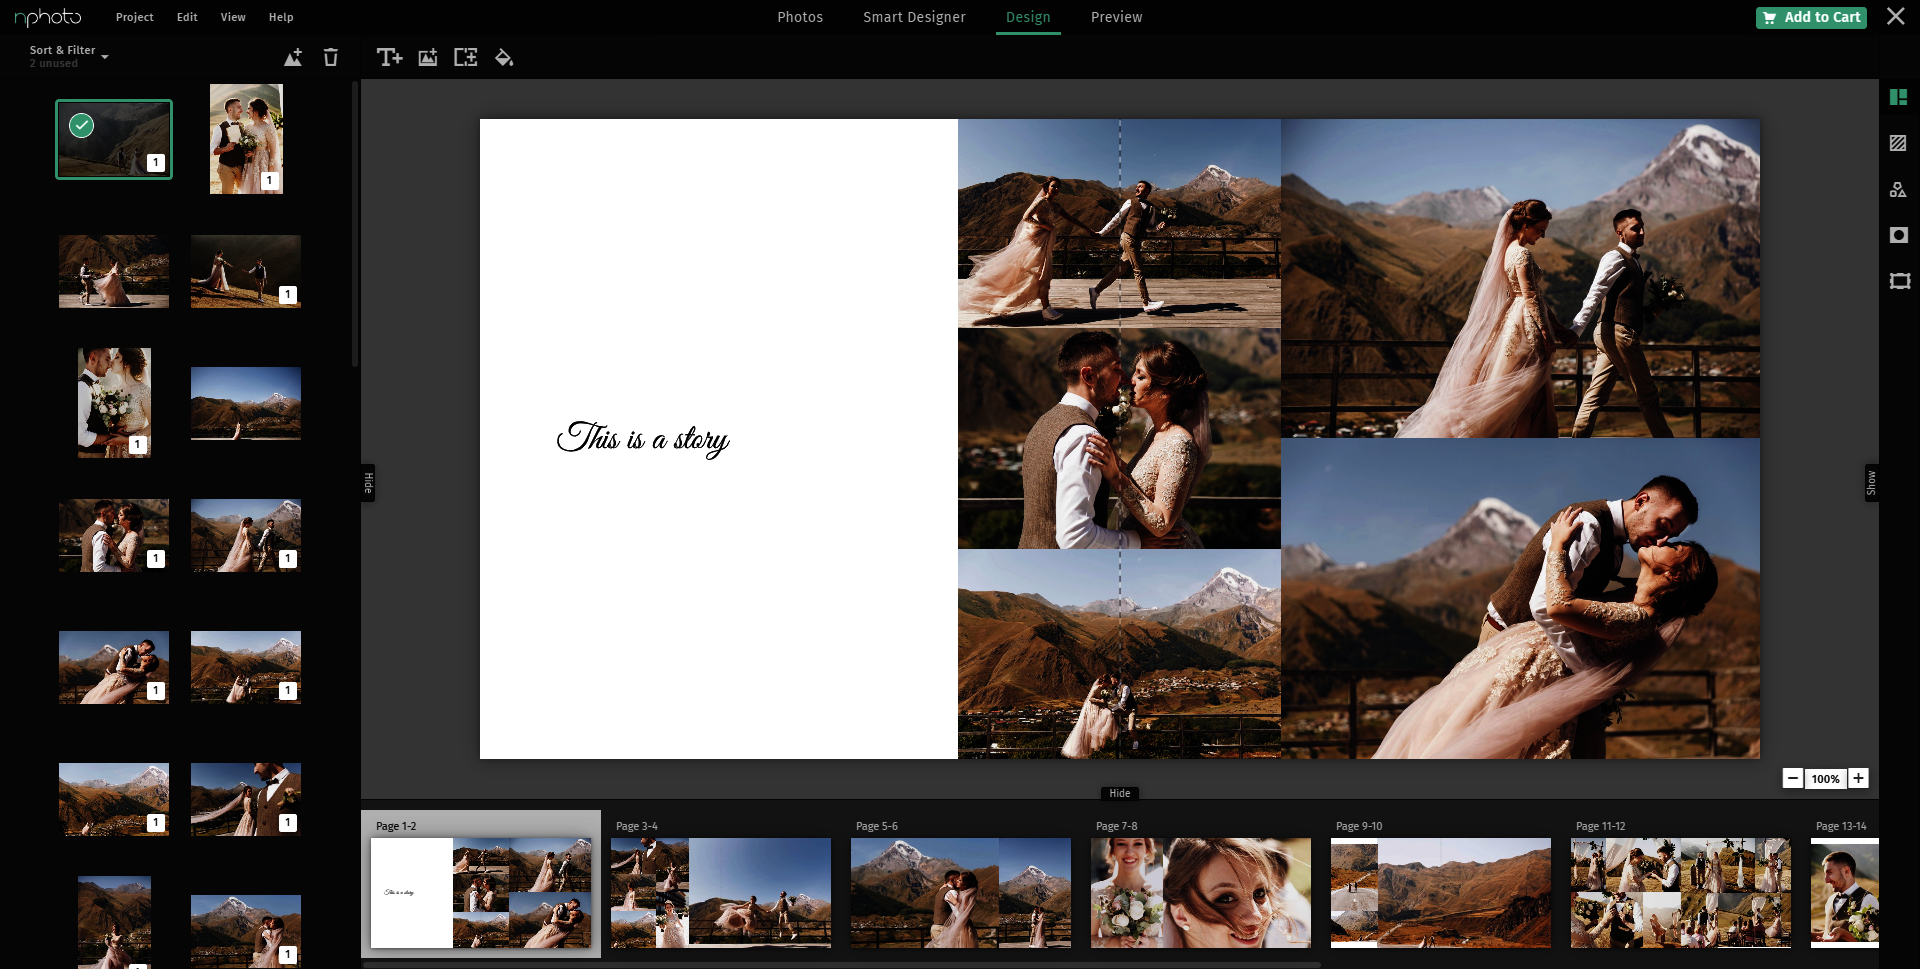
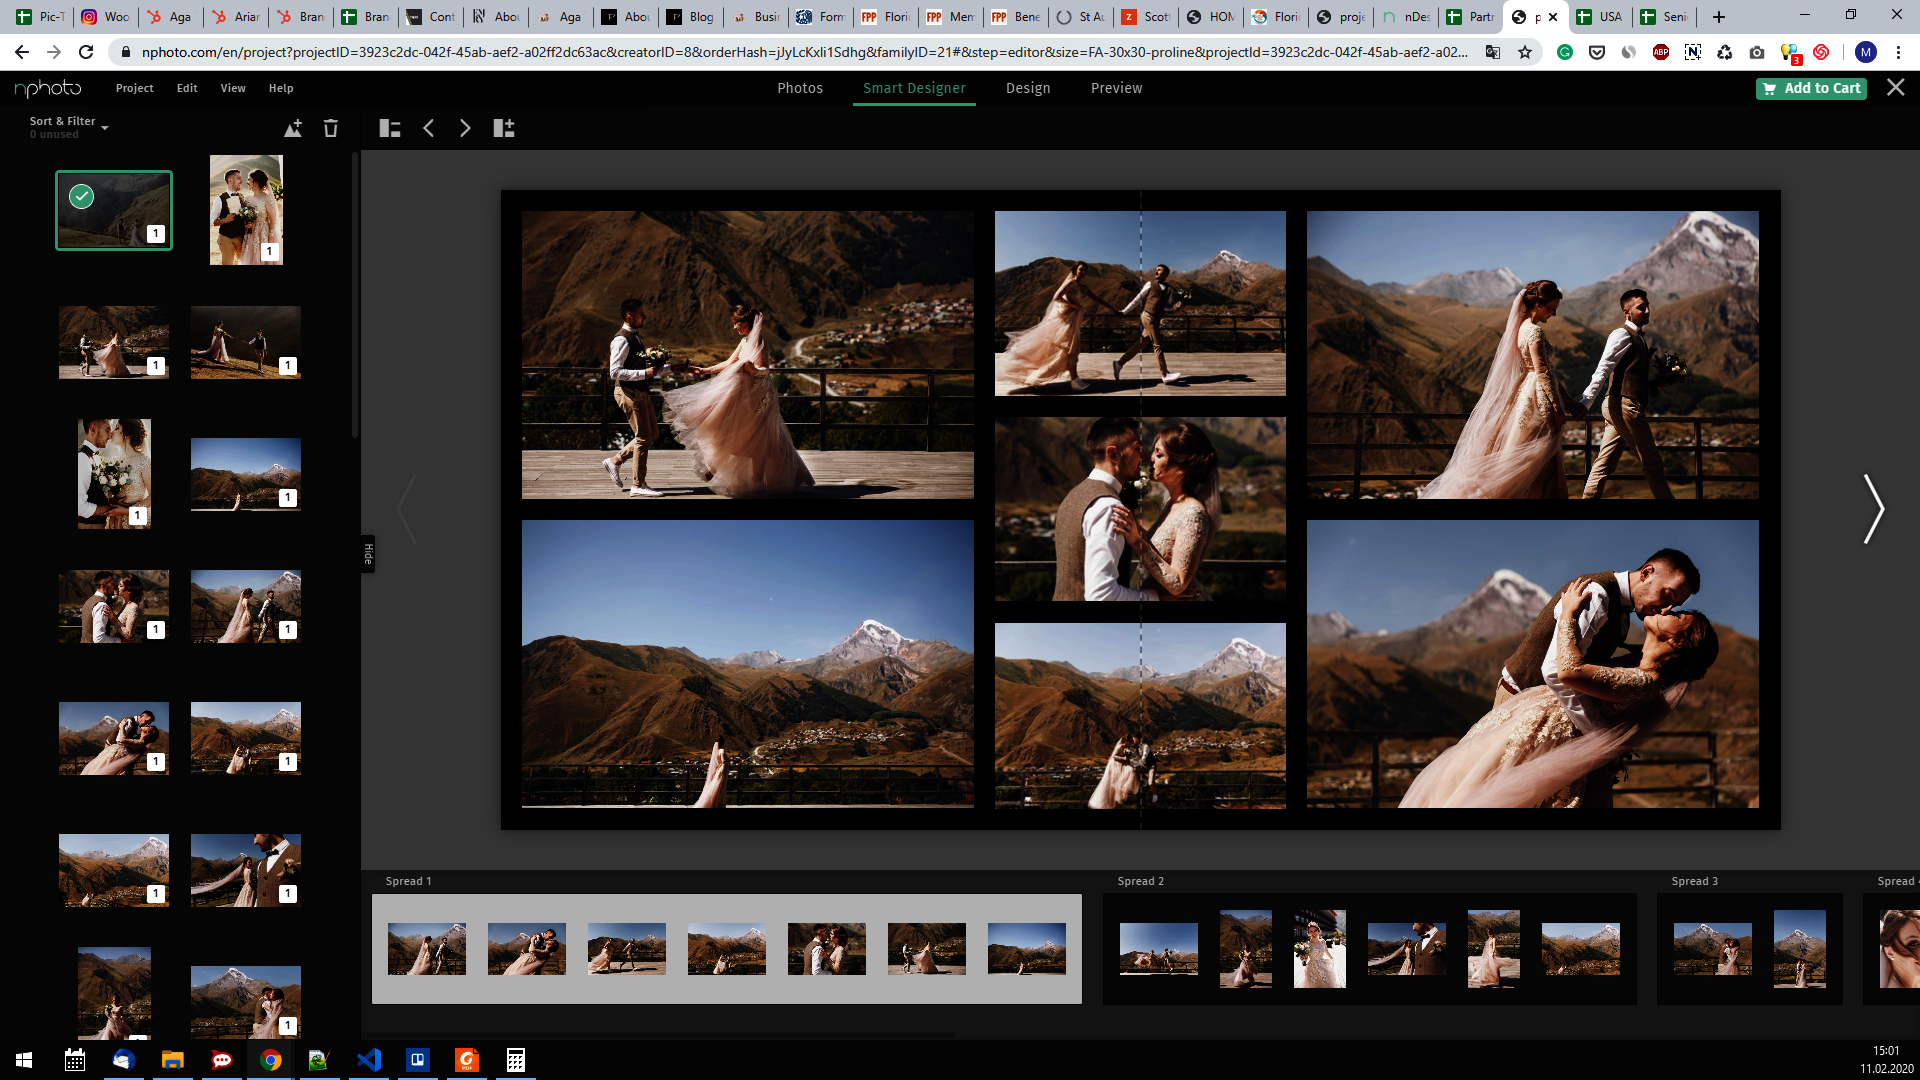
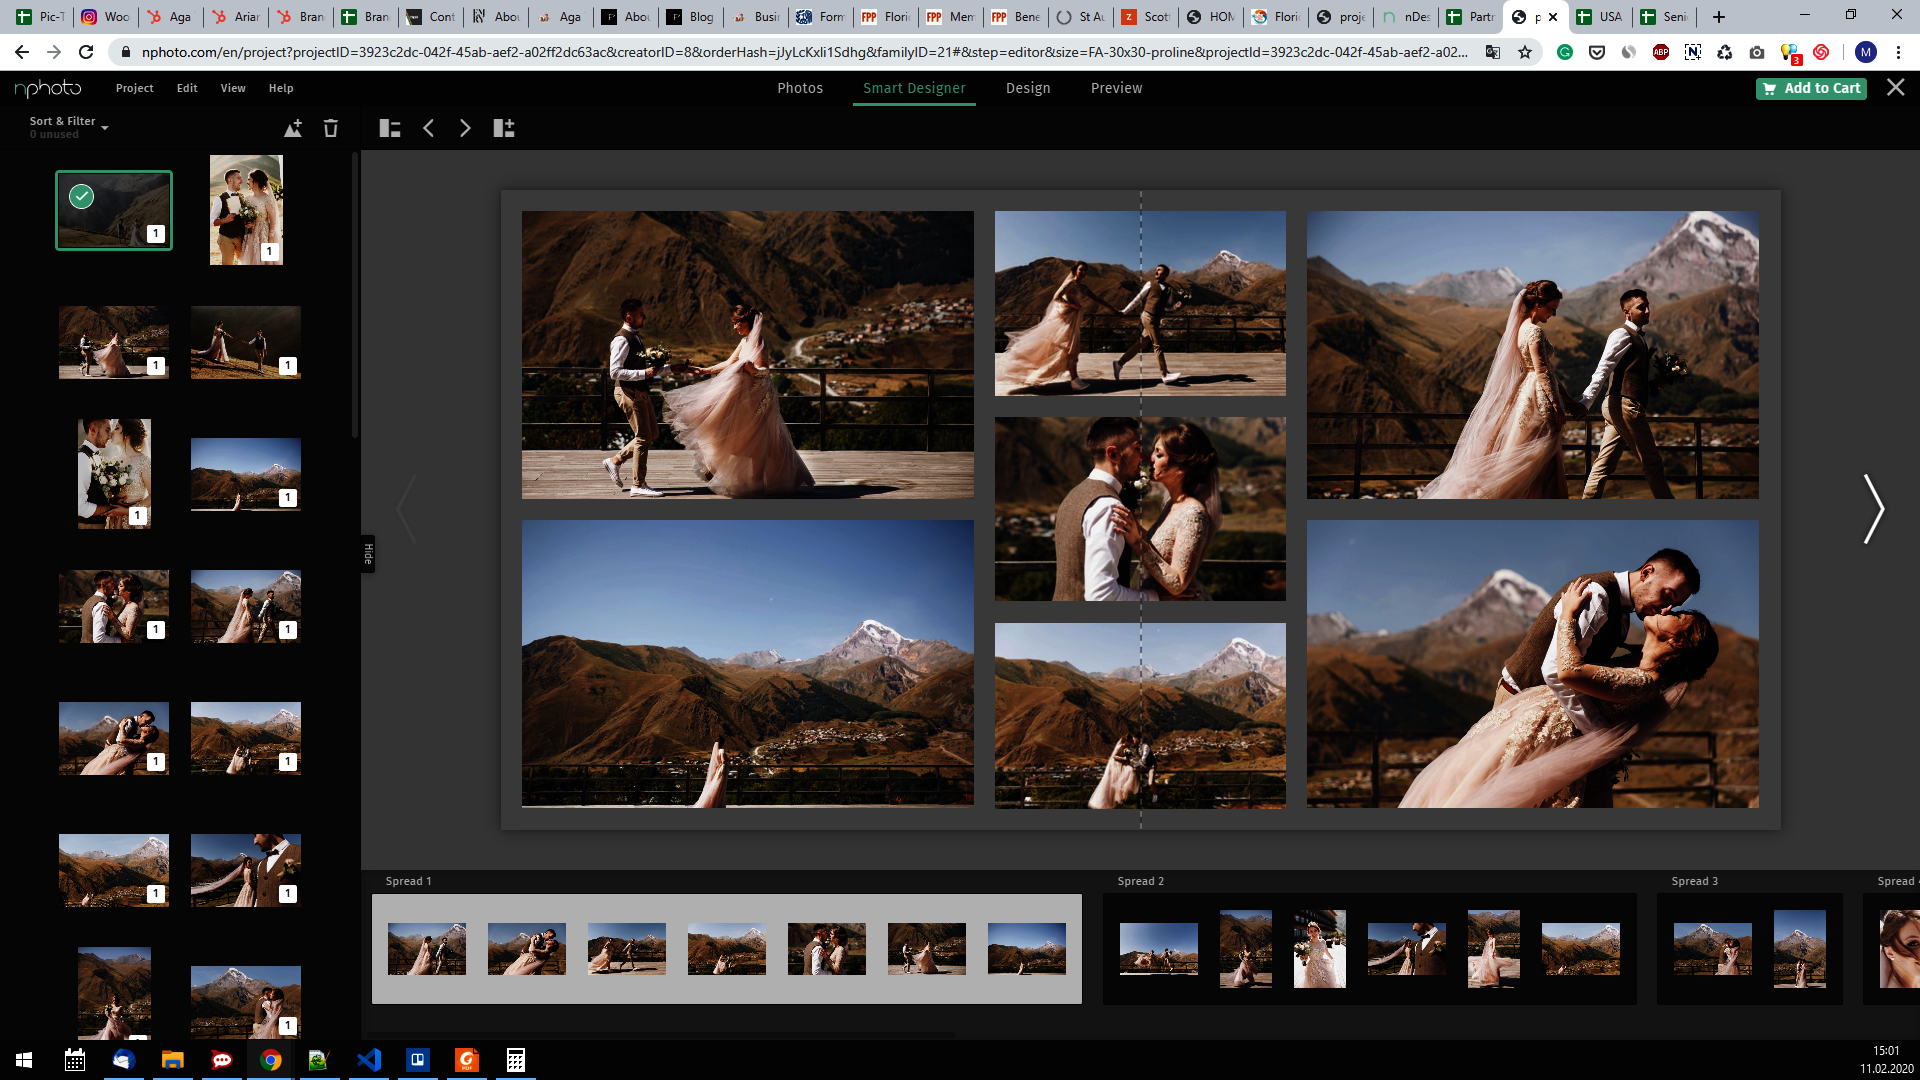
The nDesigner PRO is our new, multi-functional, innovative, free online software that can be used to design Photo Albums and Photo Books (DreamBooks 4K, Photo Books Pro, Photo Books Basic). You have four designing 'modes' in the nDesigner Pro: Photos, Smart Designer, Design, Preview. What's Smart Designer? This mode will save you hours of designing time, read on to find out how. In Smart Designer mode, you can create an album in minutes! This 'smart designing' mode groups your photos by date taken, by formats, and colour-coordinated thanks to the program's algorithms. So designing a Photo Book or Album is a piece of cake!
We are continually updating the nDesigner PRO and equipping it with features that facilitate and shorten designing times. Therefore, any and all suggestions or opinions our clients have on the program are taken into account and explored. Hence introducing this new module - Project Preferences - to the free online software. Read on to find out what it's all about and how it works.
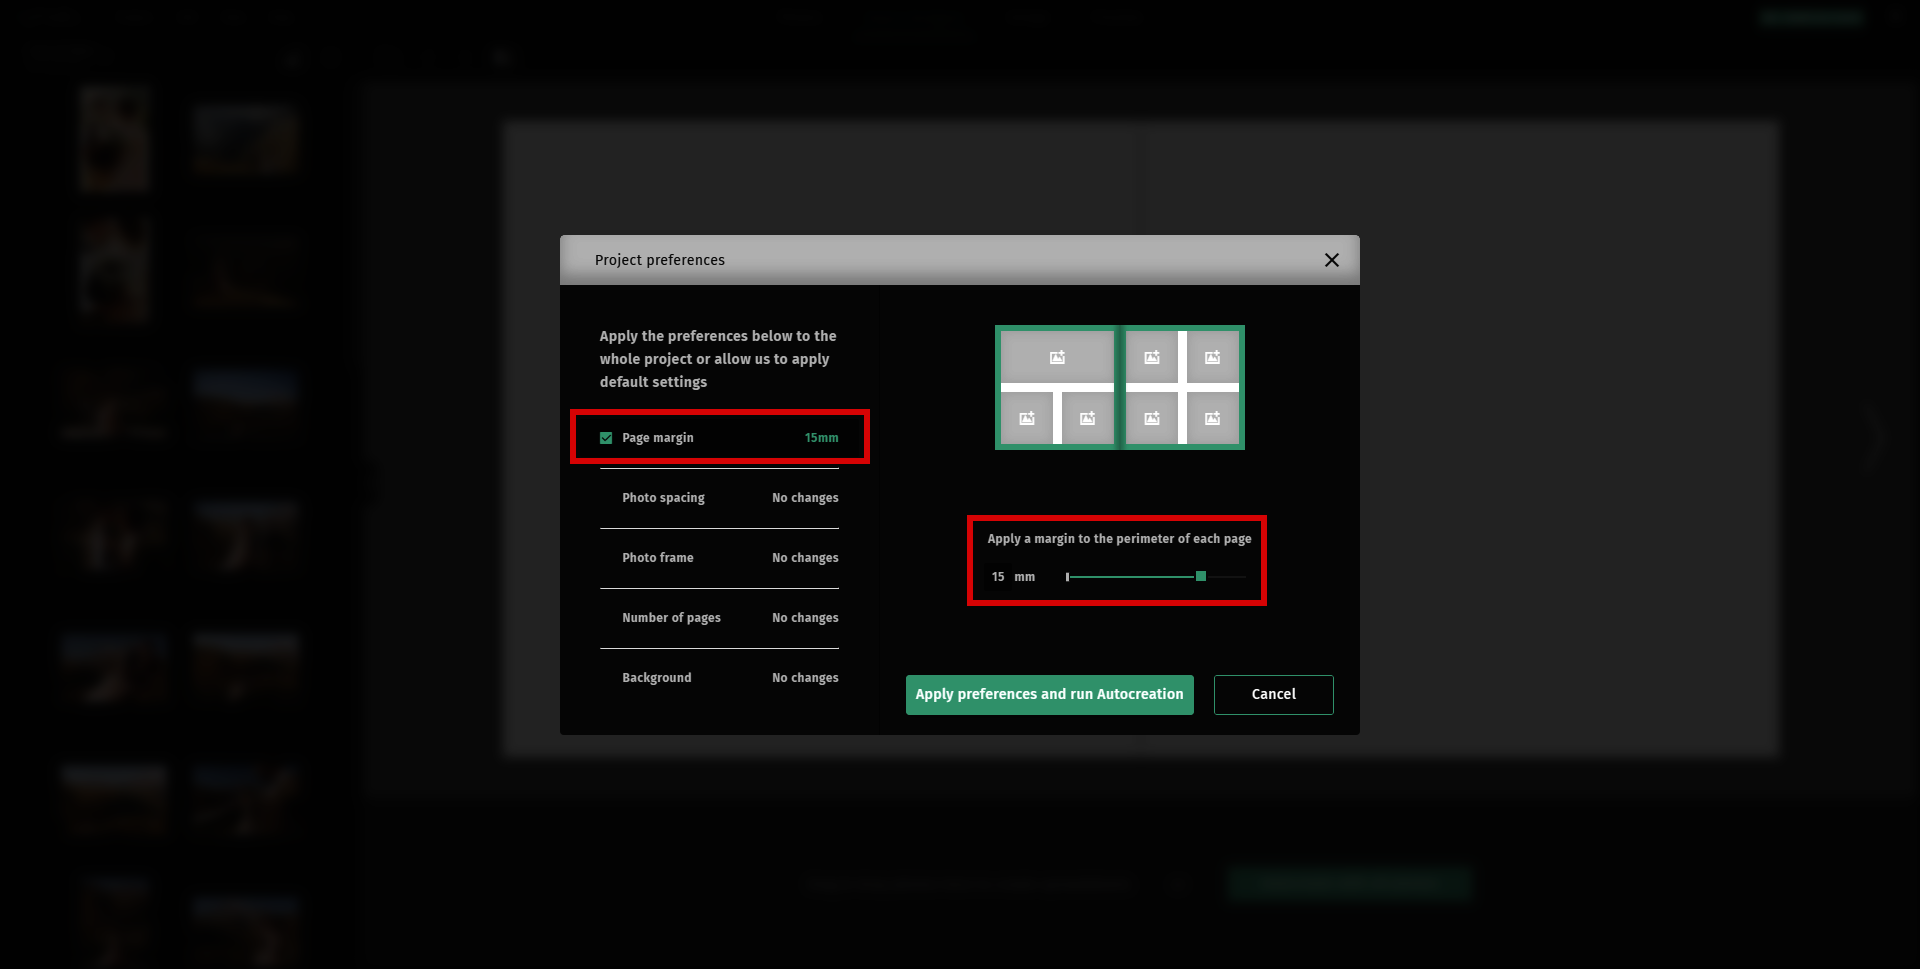
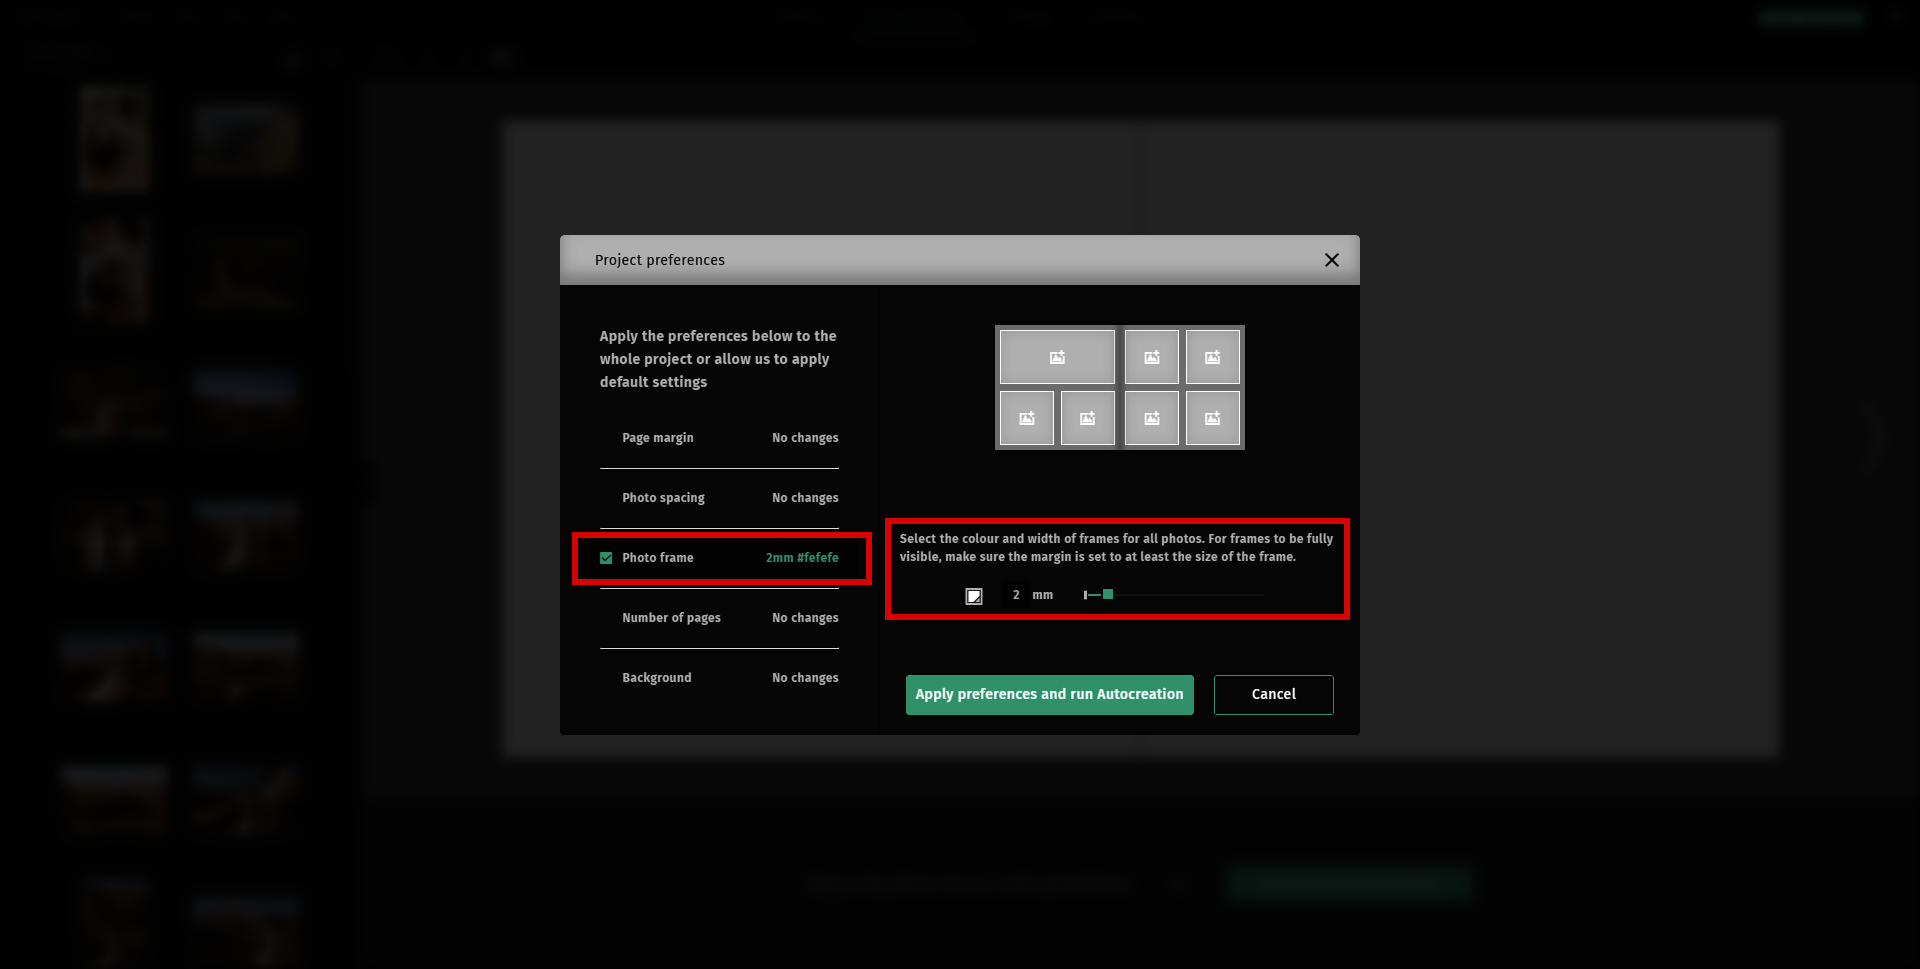
The keywords here are 'Project Preferences', the preferences that you choose in this step/module will be applied to your whole project. No need to tweak each page/spread separately.
These preferences allow you to apply the following elements to the whole project in just a few clicks:
1. page margin
2. spacing between photos
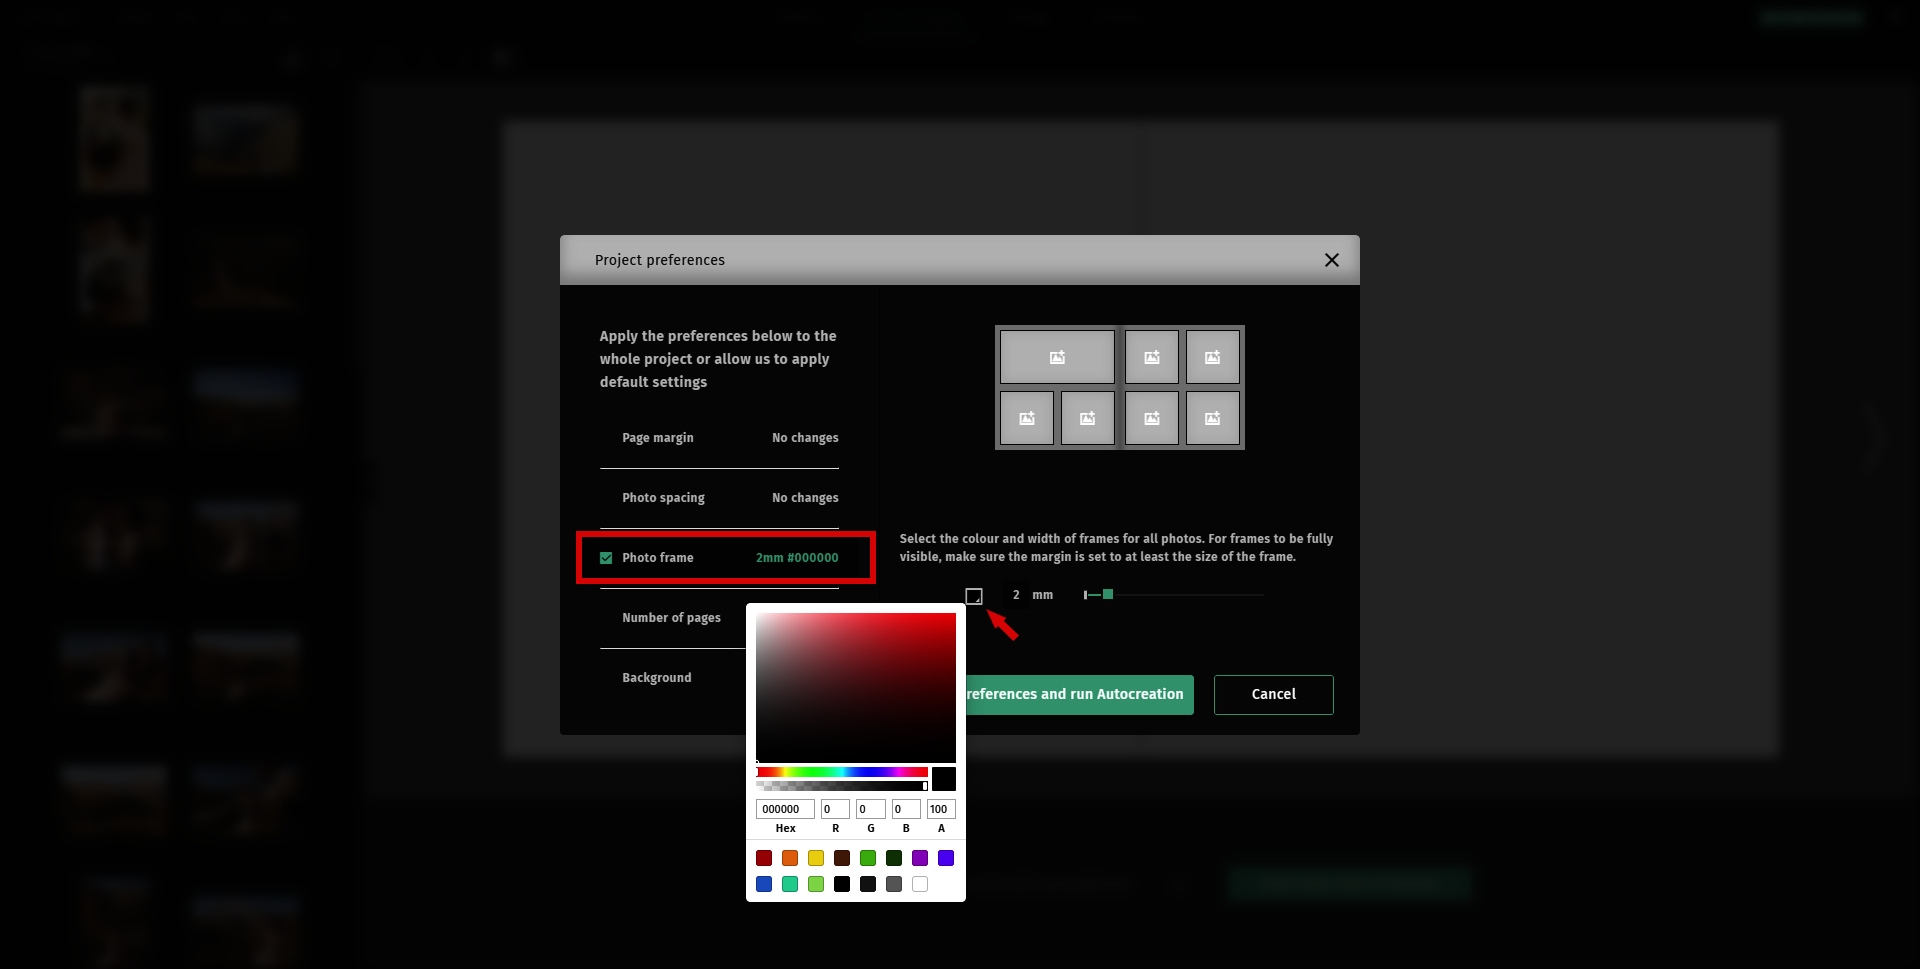
3. photo frame and it's colour
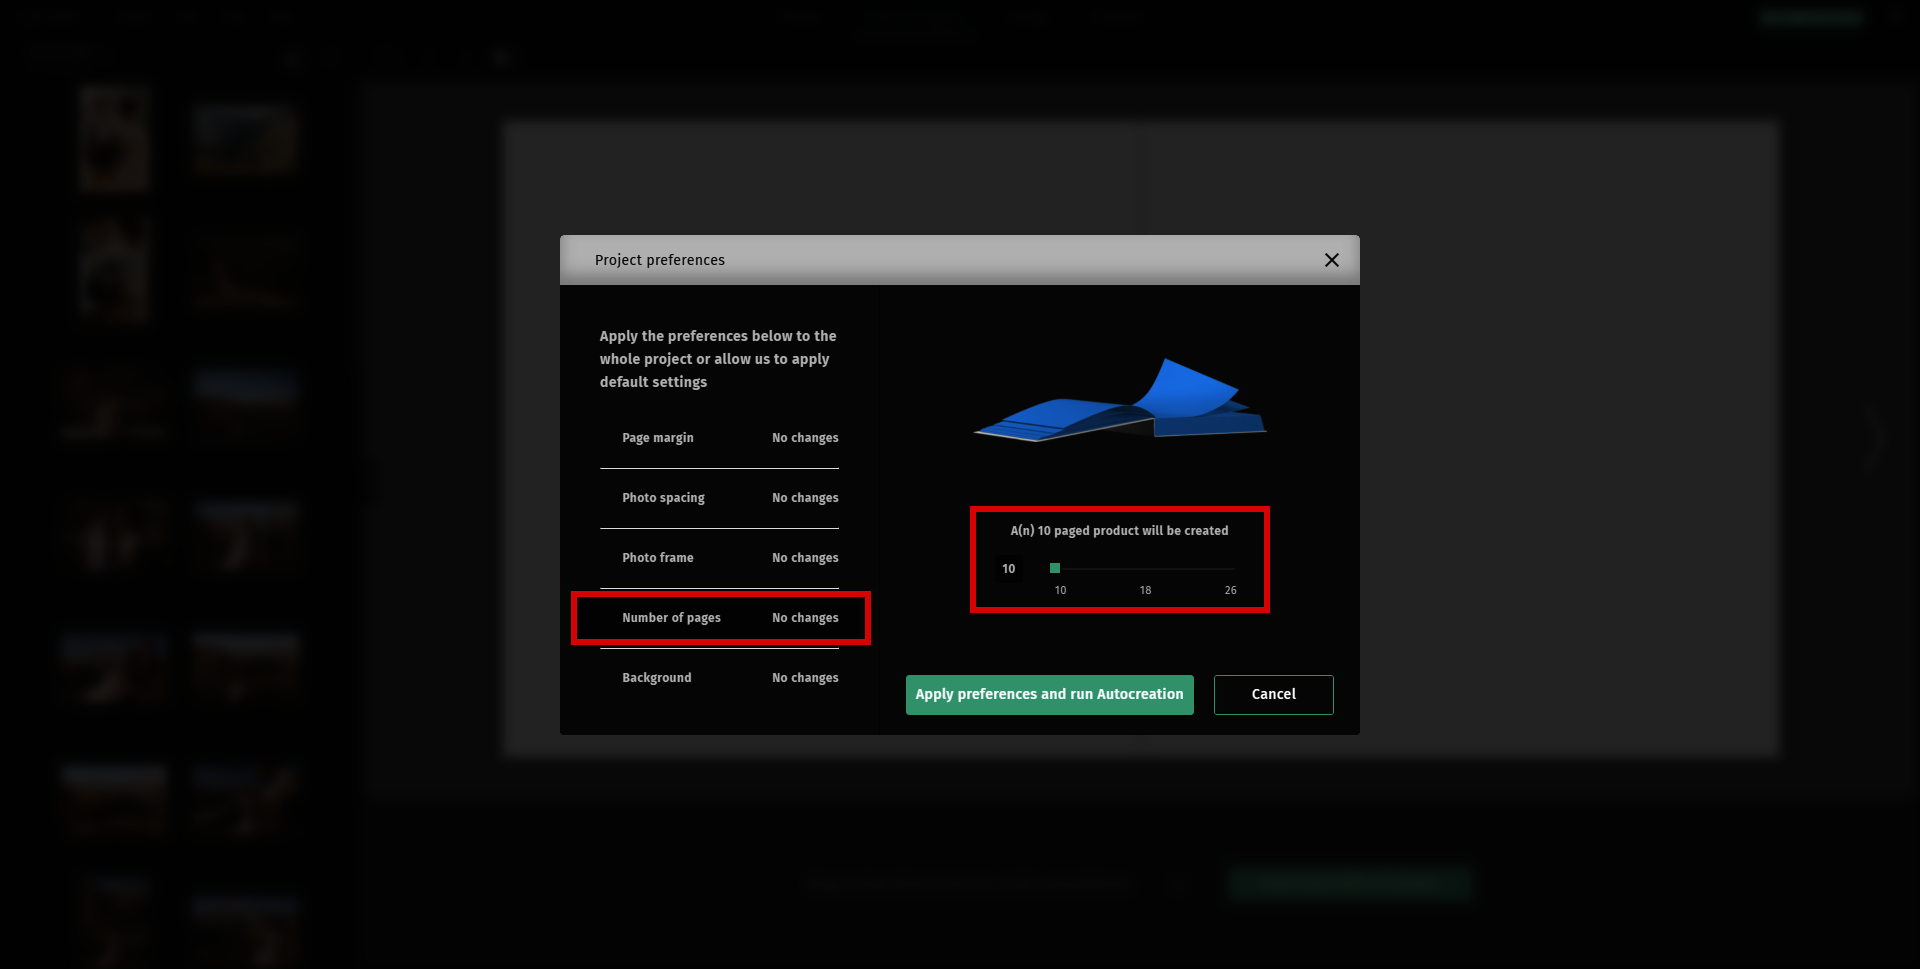
4. number of pages
5. font type, size, colour
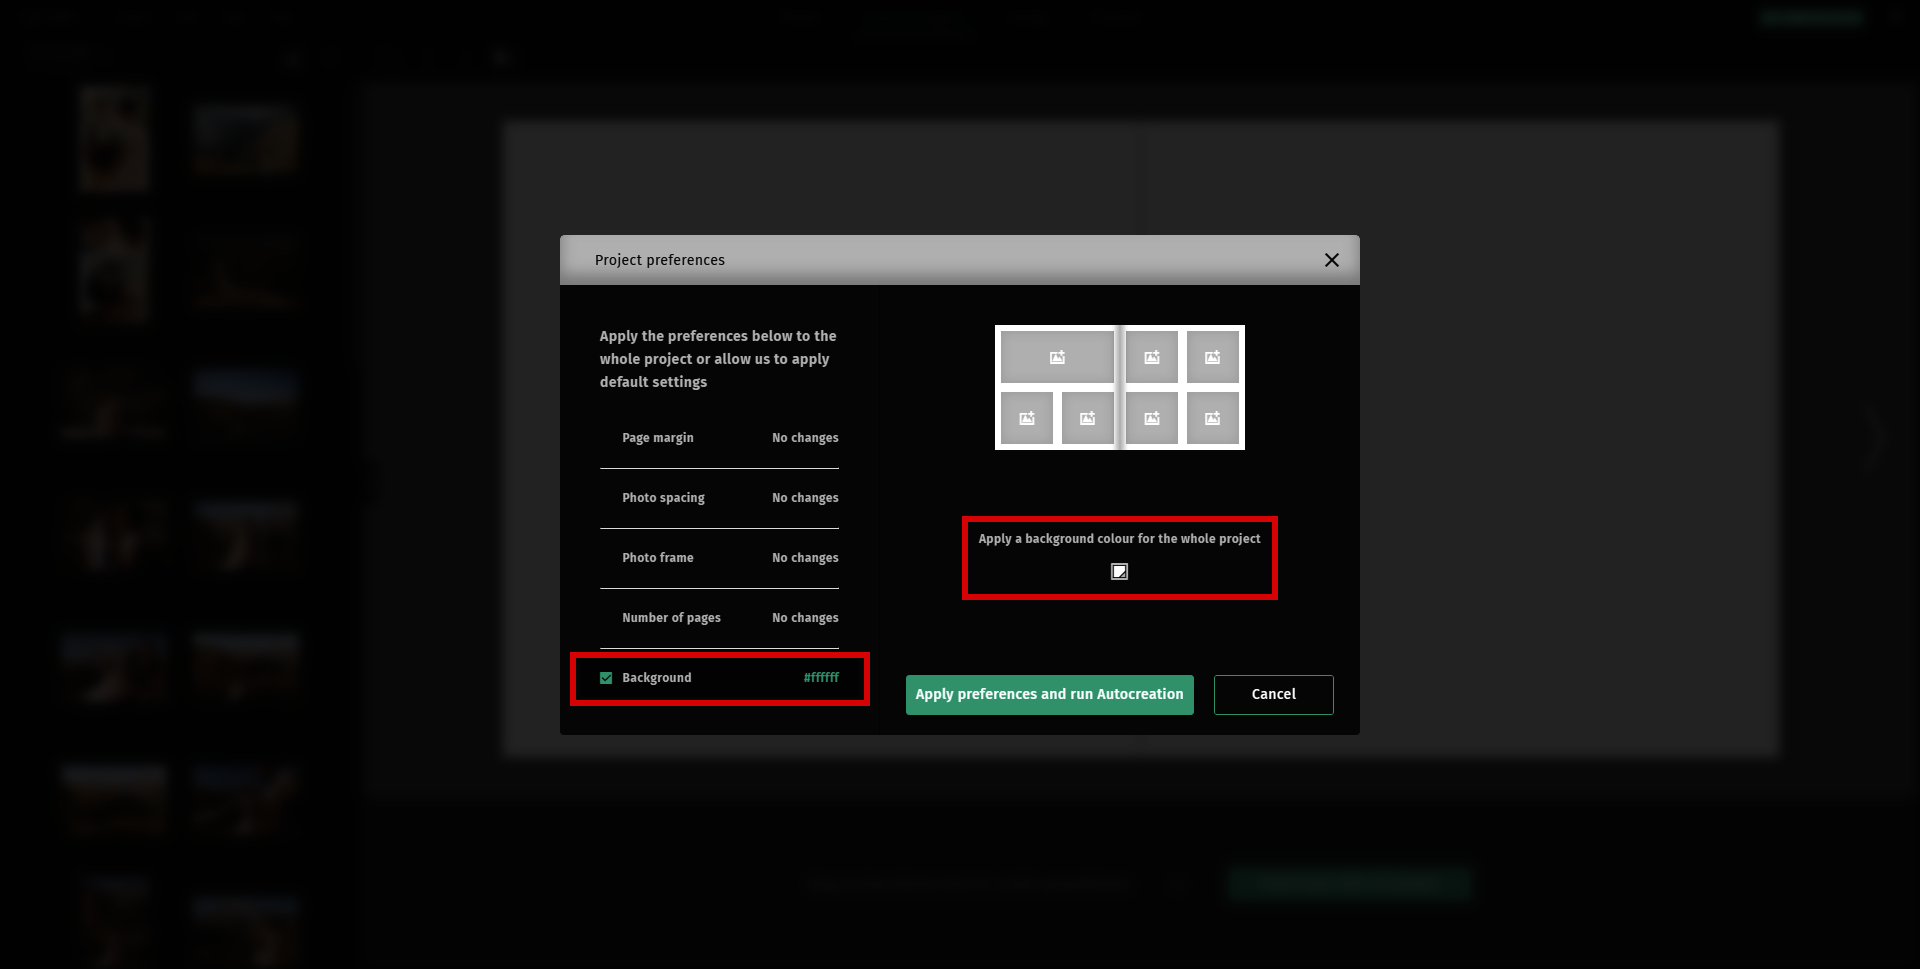
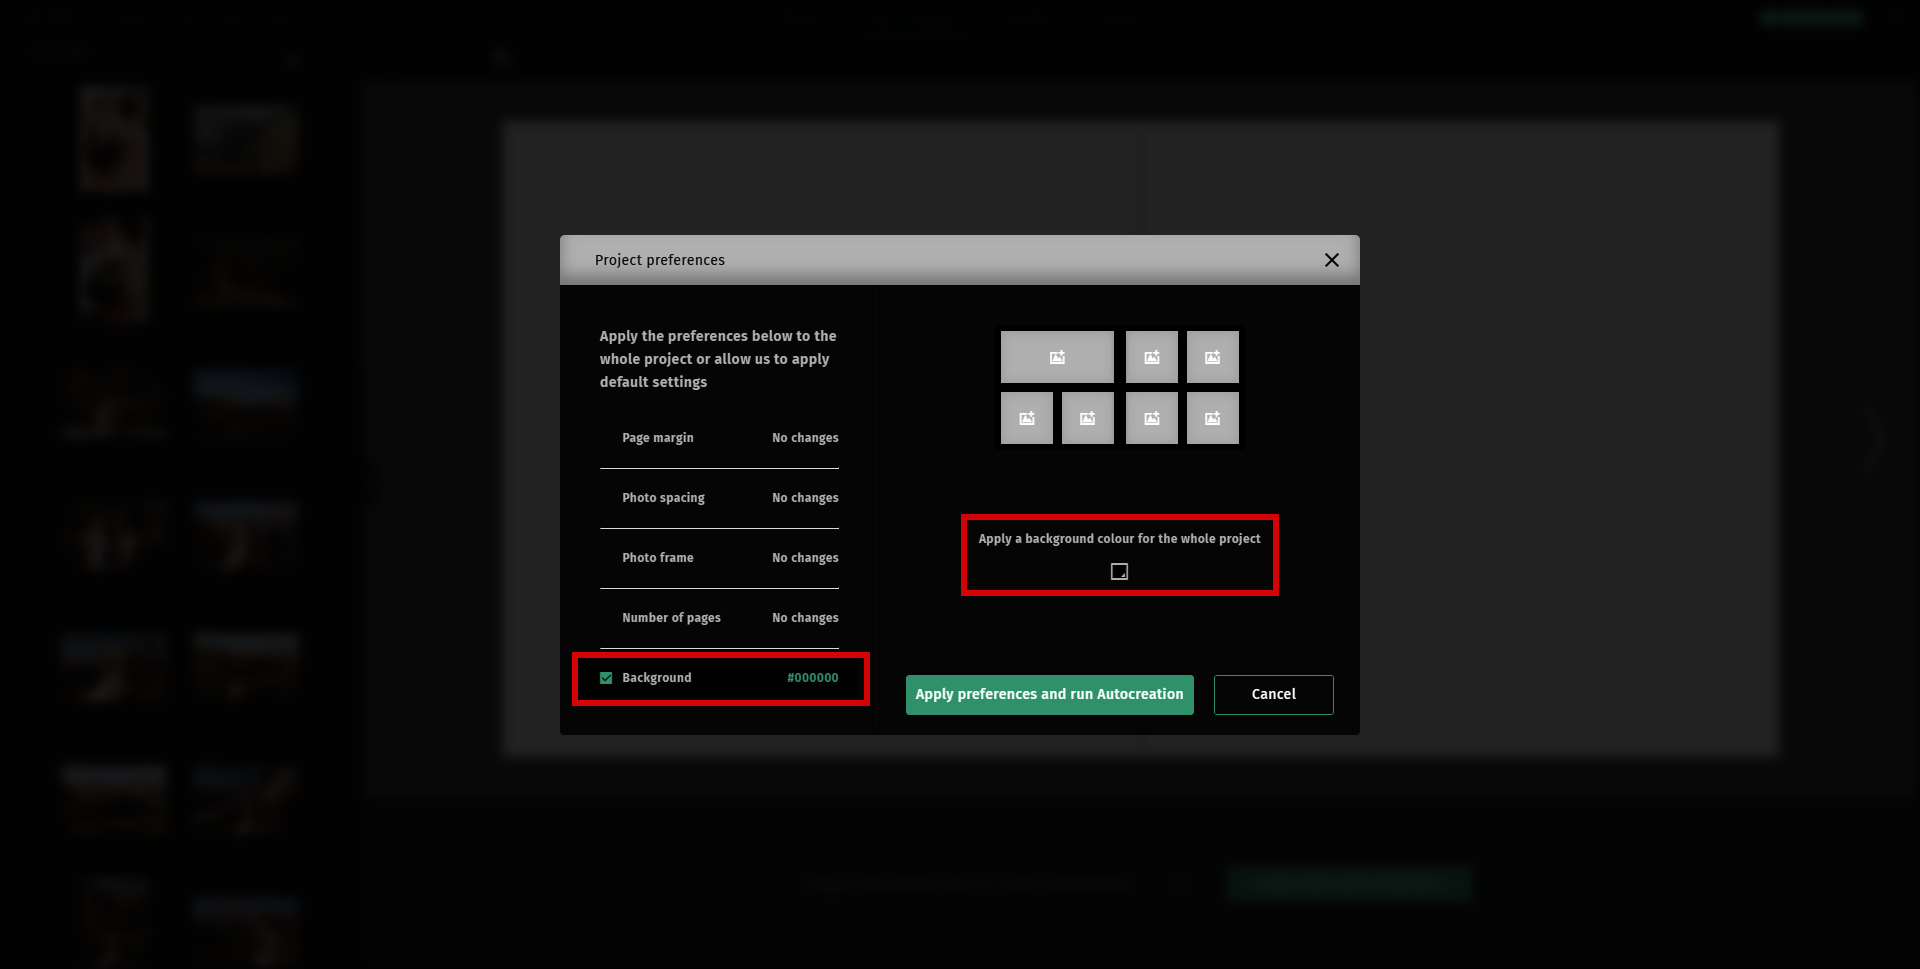
6. background colour
Choose your 'Project Preferences' before continuing with creating your project automatically. The preferences will be applied to your whole project. You can modify them later by going to 'Project' in the menu and selecting 'Project Preferences'.
1. Page margin - apply a margin to the perimeter of each page


2. Photo spacing - apply spacing in between all your photos

3. Photo frame - Select the colour and the width of frames for all photos. For frames to be fully visible, make sure the margin is set to at least the size of the frame
4. Number of pages - select the number of pages for your product before you continue 'creating your project automatically', you can add more pages/spreads to your product from the 'Design' mode
5. Fonts - select a font style for all texts in the project


6. Background - select a background for pages/spreads and apply them to the whole project
New Hotkeys
CTRL + A Allows you to select all photos in the Photos, Smart Designer, and Design Tabs
DELETE Deletes selected image from a page/spread or from the bottom panel in Smart Designer and Design Tabs
ESC Resets your selection (ex. Project Preferences before you 'apply changes')
Tip: No more scrolling through hundreds of images. See how many images have not yet been used. Sort to hide or show your used photos to make designing that much easier!